Youth soccer drills are the building blocks that turn nervous beginners into confident, skilled players — and chaotic “bunch ball” into real teamwork.
Here are the most effective drills to get started with:
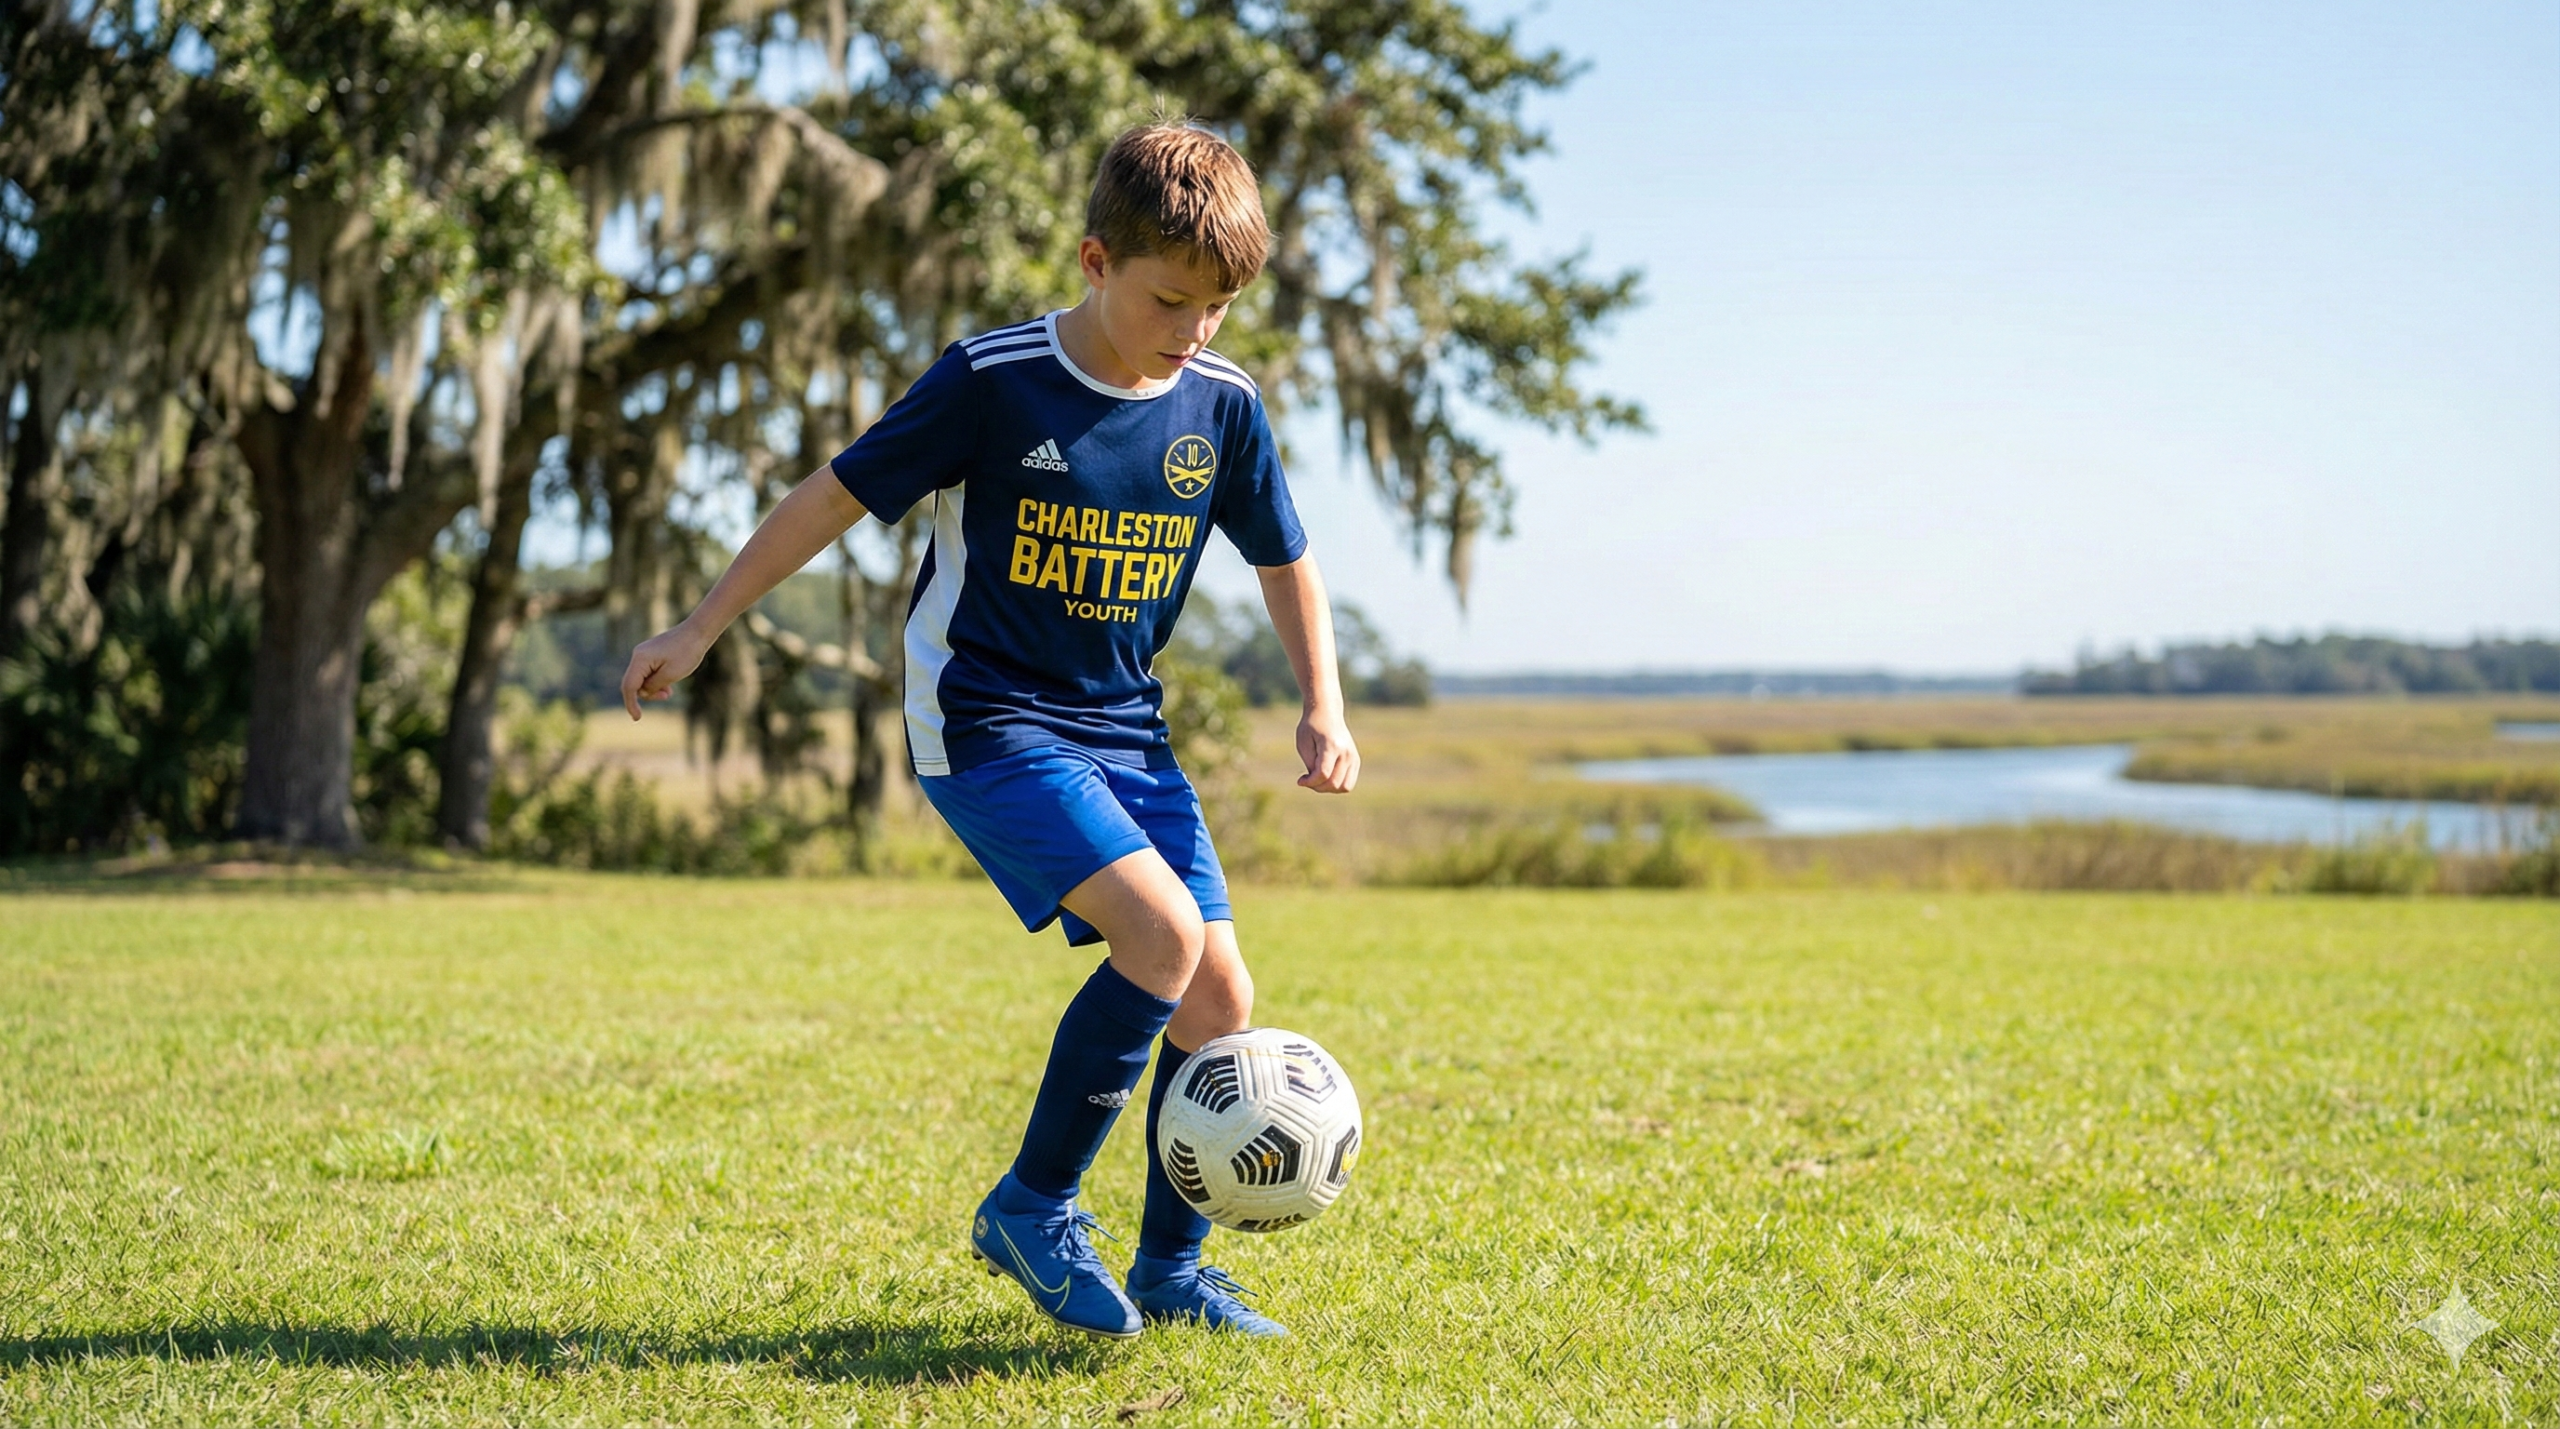
Whether you’re a first-time parent trying to help your 7-year-old stop chasing dandelions, or a Mount Pleasant soccer parent looking to sharpen your child’s first touch before tryouts — the right drills change everything.
The problem? Most kids shut down the moment practice feels like a chore. The good news is it doesn’t have to.
The best youth coaches — from grassroots recreational leagues to elite club programs — agree on one thing: kids learn fastest when they’re having fun. A drill doesn’t need to be complicated to be effective. It just needs to keep every player moving, touching the ball, and coming back for more.
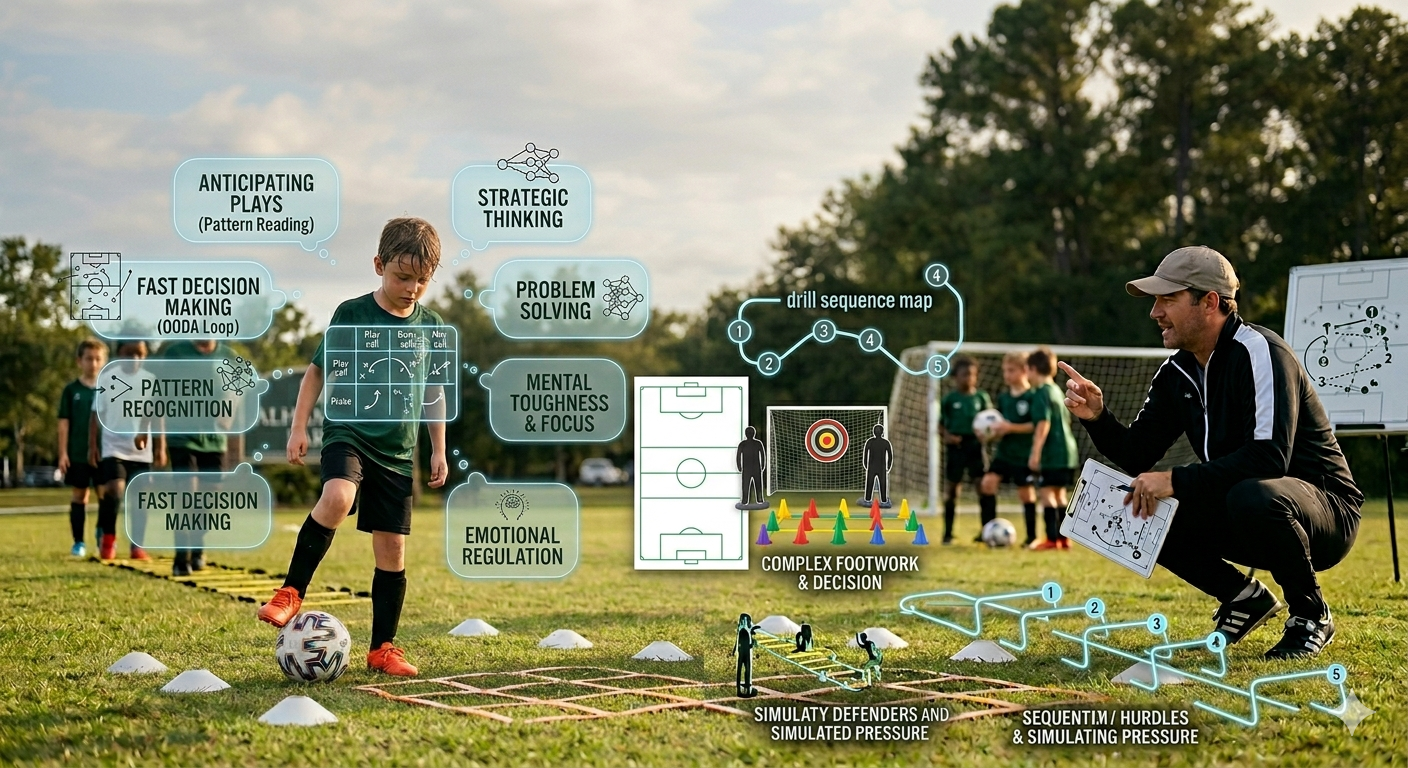
In this guide, we’ll walk through 10 smart strategies to build better players — covering dribbling, passing, possession, conditioning, and more — all designed for the energy and attention spans of young kids.


If you’ve ever coached U7 or U8 players in Charleston, you know that “coaching” can sometimes feel more like herding cats. At this age, the goal isn’t tactical perfection; it’s building a love for the ball. The “Fun-First” philosophy means we use imagination to mask the hard work of skill-building.
For example, take a drill like Space Wars. Instead of telling a child to “work on shooting accuracy,” we tell them they are in a galaxy far, far away and need to hit a moving target with their “laser” (the soccer ball). The target? That’s usually you, the coach! When a player hits you, do a dramatic, goofy flop. The kids will be so busy laughing they won’t realize they just practiced ten high-quality strikes on goal.
By sparking their imagination, you keep engagement high. Whether it’s dodging “aliens” or escaping “zombies,” themed youth soccer drills ensure that the fundamentals of ball control and striking are being developed while the kids are having the time of their lives.
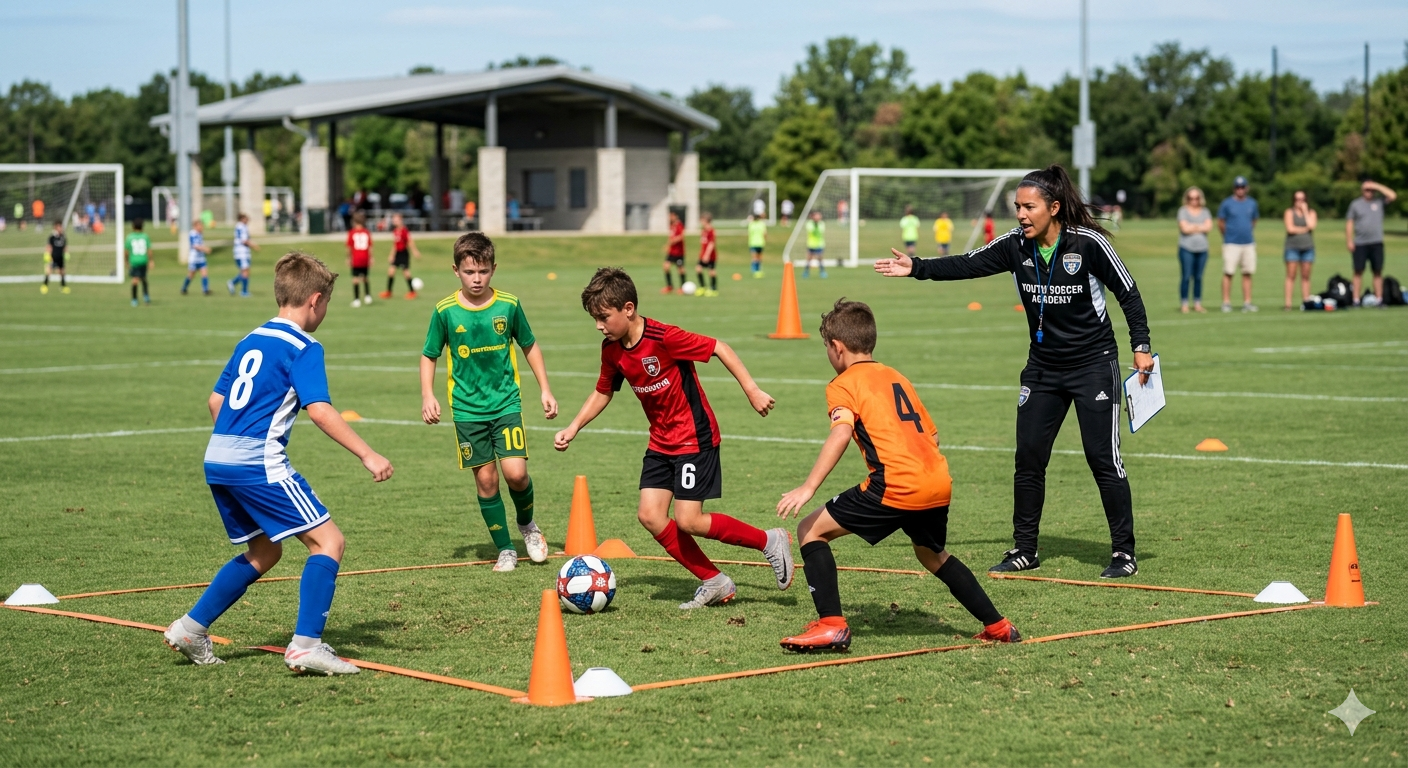
One of the biggest mistakes we see at local parks like those on Daniel Island or James Island is “The Line.” If kids are standing in a line waiting for their turn, they aren’t getting better—they’re getting bored. To maximize development, we recommend a high-energy, 60-minute structure that keeps everyone moving.
| Phase | Duration | Focus | Activity Type |
|---|---|---|---|
| Warm-up | 10 Mins | Engagement | Arrival Scrimmage (3v3 or 4v4) |
| Touch Games | 15 Mins | Ball Mastery | Red Light Green Light or Gates Dribbling |
| Skill Focus | 15 Mins | Passing/Possession | 3v1 Rondos or Triangle Goals |
| The Game | 20 Mins | Application | Final Scrimmage with “Bonus Point” rules |
The “Arrival Scrimmage” is a pro tip: as soon as the first two kids show up, start a 1v1. As more arrive, it becomes a 2v2, then 3v3. This eliminates the “waiting around” period and gets their hearts pumping immediately. For more ideas on how to fill these slots, check out our category for drills and skills.
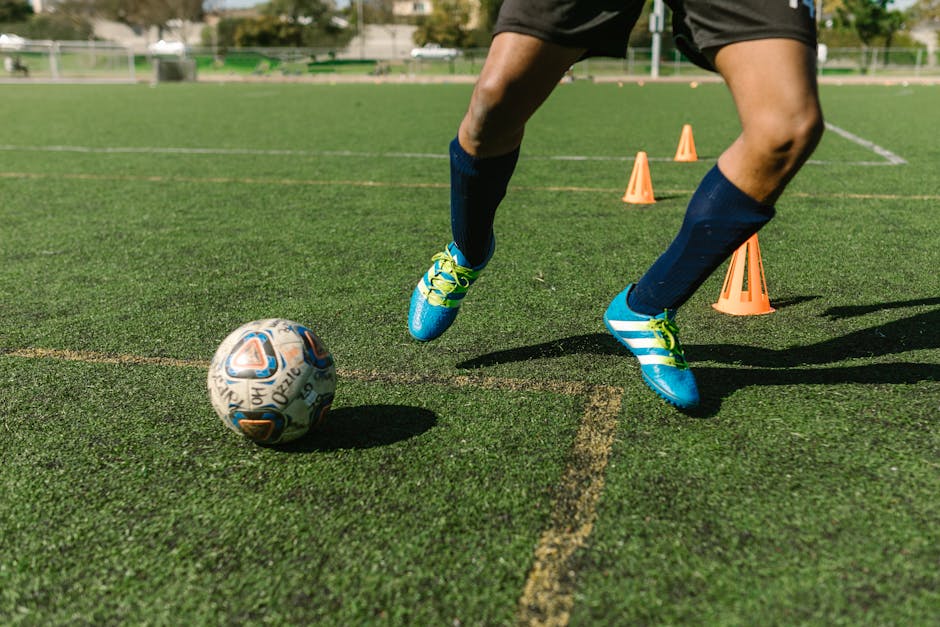
Dribbling is about more than just moving the ball; it’s about “head-up” play. If a player is staring at their feet, they can’t see the open teammate or the approaching defender. Games like Duck Tails are perfect for this. Players tuck a scrimmage vest into the back of their shorts (their “tail”) and have to dribble while trying to pull others’ tails and protecting their own. It forces them to scan the field constantly.
Another classic is Red Light, Green Light. It builds muscle memory by teaching players to transition from explosive speed (Green Light) to an instant, controlled stop (Red Light). This “stop-and-go” rhythm is exactly what they need in a real match at the Isle of Palms recreation fields. We also love Knockout, where players must protect their ball while trying to poke-tackle others’ balls out of the grid. It’s the ultimate lesson in shielding and awareness.
To move from “fun games” to “technical mastery,” try these specific dribbling setups:
“Bunch ball” is the natural state of youth soccer—every kid wants the ball, so they all swarm it like bees. To break this habit, we use Rondos. A Rondo is a keep-away game played in a small square.
Start with a 3v0 Rondo. This might sound too easy, but for U7 players, just learning to form a triangle and pass the ball around an empty space is a huge win. Once they get it, progress to a 3v1 Rondo. The three attackers must stay on the edges of the square, while one defender tries to win the ball.
Coaching Points for Rondos:
Once they understand the “why” of passing, use these games to sharpen the “how”:
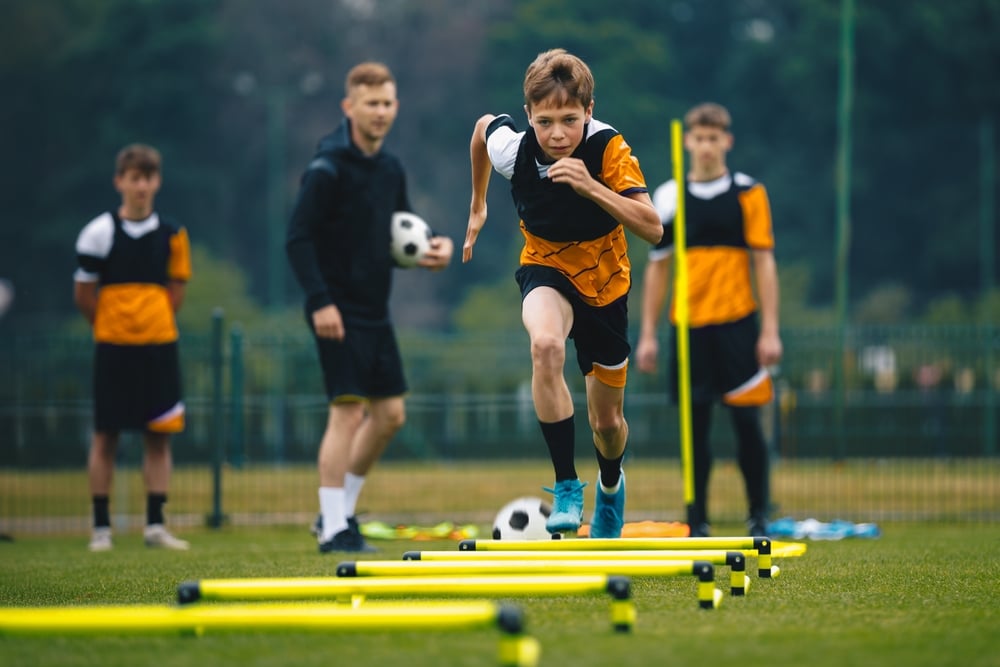
In youth soccer, we never want to see kids running laps around a track. It’s boring and doesn’t translate to the game. Soccer fitness is about short bursts of speed, quick changes of direction, and the ability to think while tired.
We build stamina through high-intensity, small-sided games. 1v1 battles are the best conditioning tool we have. Try the 1v1 Escape Pressure from Behind drill. One player starts with their back to the goal and a defender right behind them. They have to shield the ball, turn, and score. It’s exhausting, but because it’s a competition, they’ll give 100% effort.
We also focus on positive aggression. This isn’t about being “mean”; it’s about being brave. Drills that focus on 50/50 balls and legal shoulder tackles help kids realize that physical contact is a normal, fun part of the game. When I’m volunteering with the Charleston Battery or training kids in Summerville, I always tell them: “The player who wants the ball more usually wins it.”
You don’t need a professional stadium to run great youth soccer drills. Most of our sessions happen at local spots like the Sullivan’s Island park or fields in North Charleston.
The Essential “Olly” Kit:
If you have a small group or limited space in your backyard in Mount Pleasant, scale the drills down. A 3v1 Rondo can be done in a 5×5 yard square. A 1v1 battle only needs 10 yards of space. The key for volunteer coaches is to stay organized—have your grids set up before the kids arrive so the transition from one drill to the next is seamless.
If you want to see these drills in action or need a hand getting your player to the next level, you can book a private session to master these drills with us.
Clumping happens because kids feel safe near the ball. To stop it, use “Bonus Points” in scrimmages for spreading out. You can also “freeze” the game, have everyone stop, and show them how much open space is available if they just take five steps away from the crowd. Using drills like the Triangle Goal Game also teaches them that the ball moves faster than they can run.
At the U7/U8 level, focus 80% on the individual and 20% on the team. The best drills are Red Light Green Light, Space Wars, and Sharks and Minnows (modified so that no one is ever “out”—if you get caught, you just have to do 5 toe-taps to get back in). Keep it fun, keep it moving, and give lots of high-fives.
Conditioning should be integrated into every practice, but never as a standalone “running” segment. If you play high-energy games like Knockout or Small-Sided Transition Games, your players will naturally build the soccer-specific stamina they need. For players aged 5-14, 2 to 3 sessions a week that include these active games are plenty to build fitness without causing burnout.
At Olly on the Ball, we believe that every child in Charleston and Mount Pleasant has the potential to be a great player if they are given the right foundation. Our peer-to-peer mentoring approach is built on the pillars of fundamental skills, confidence building, and a genuine love for the game.
Whether we are practicing turns on Daniel Island or working on shooting finesse in Summerville, the goal is always the same: to make the player better than they were yesterday while making sure they have a blast doing it. If you’re looking for personalized training that relates directly to your child’s experience, we are here to help.
Ready to take the next step? Start your training journey today and let’s get to work!