Beginner Soccer Drills: Everything You Need to Know
Why Beginner Soccer Drills Are the Foundation of Every Great Player
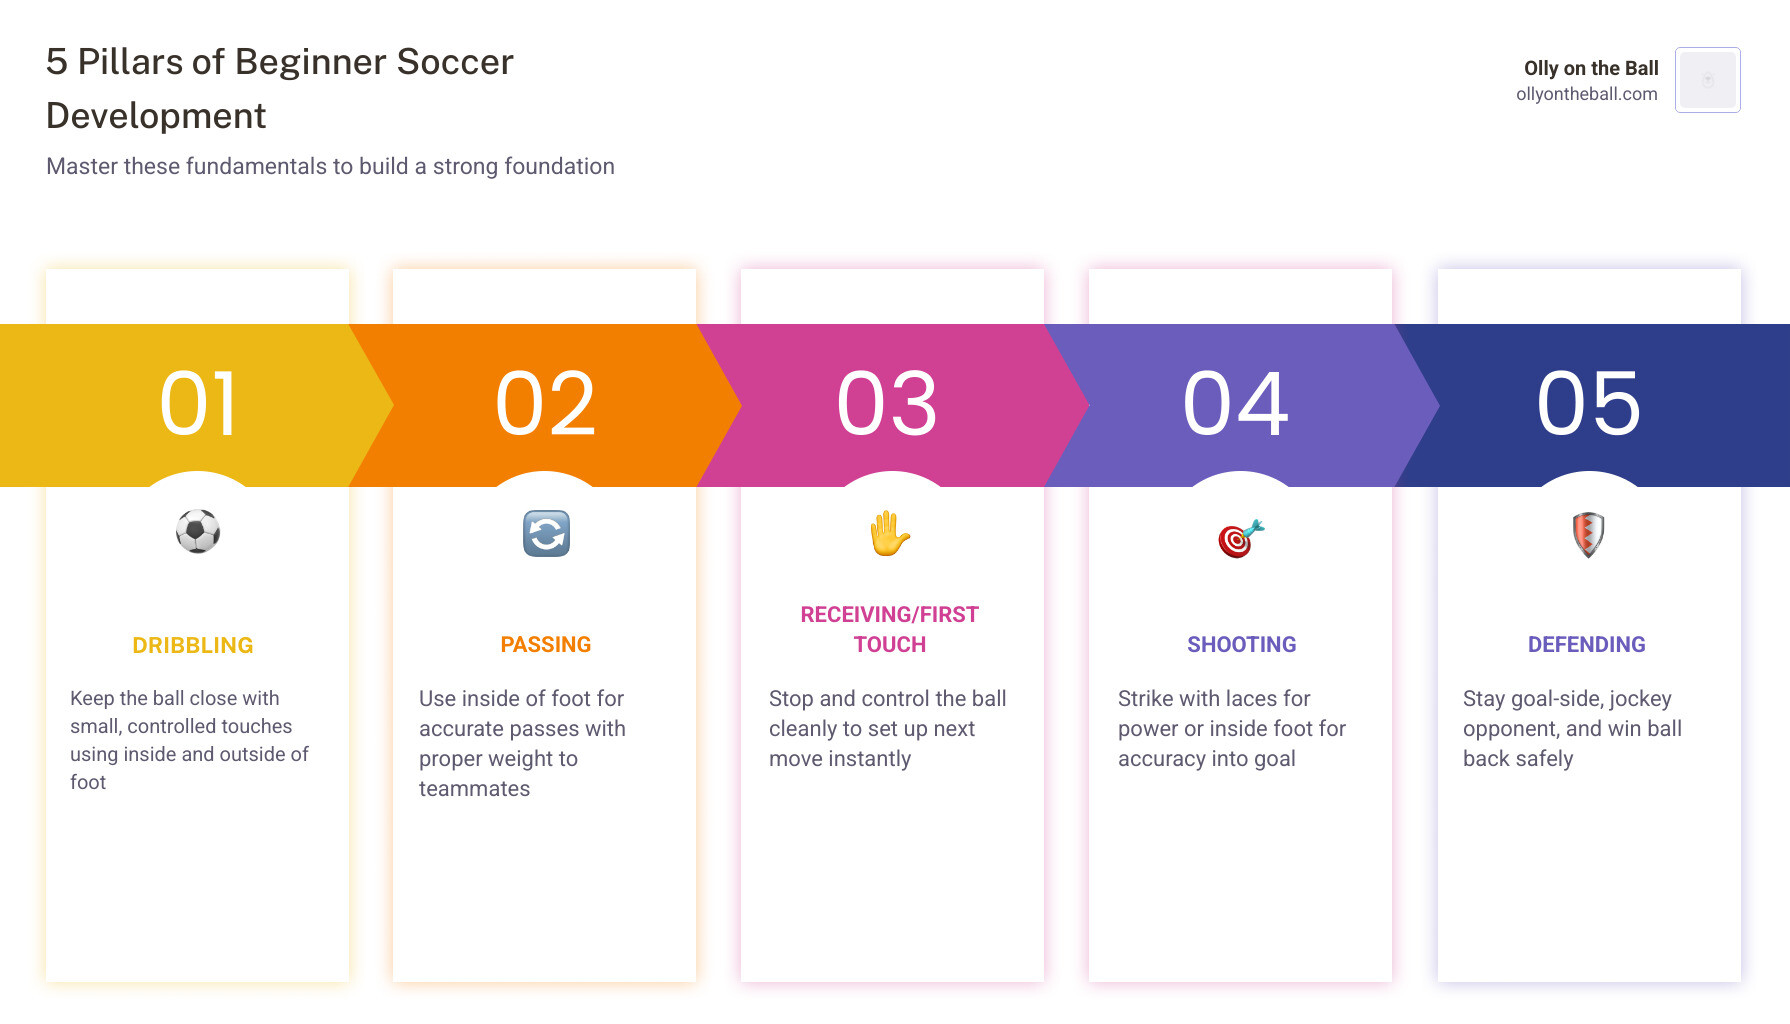
Beginner soccer drills are the fastest way to build the core skills every young player needs — dribbling, passing, shooting, and defending. Here’s a quick look at the five key skills beginners should focus on first:
Dribbling — keeping the ball close with small, controlled touches
Passing — using the inside of the foot to move the ball to a teammate
Receiving/First Touch — stopping and controlling the ball cleanly
Shooting — striking the ball with the laces for power, inside for accuracy
Defending — staying goal-side and winning the ball back
Starting soccer can feel overwhelming — for kids and parents. There’s so much to learn, and it’s hard to know where to begin.
Here’s the good news: the right drills make it simple. And fun.
Whether you’re a parent in Mount Pleasant trying to help your 7-year-old love the game, or a recreational coach searching for drills that actually work for U6-U9 players, this guide has you covered.
The best beginner drills don’t feel like work. They feel like games. And when kids are having fun, they’re learning — even if they don’t know it yet.
Essential Beginner Soccer Drills for Ball Control
At Olly on the Ball, we believe everything starts with the ball at your feet. If a player feels comfortable with the ball, their confidence sky-rockets. Ball control isn’t just about fancy tricks; it’s about making the ball go exactly where you want it to.
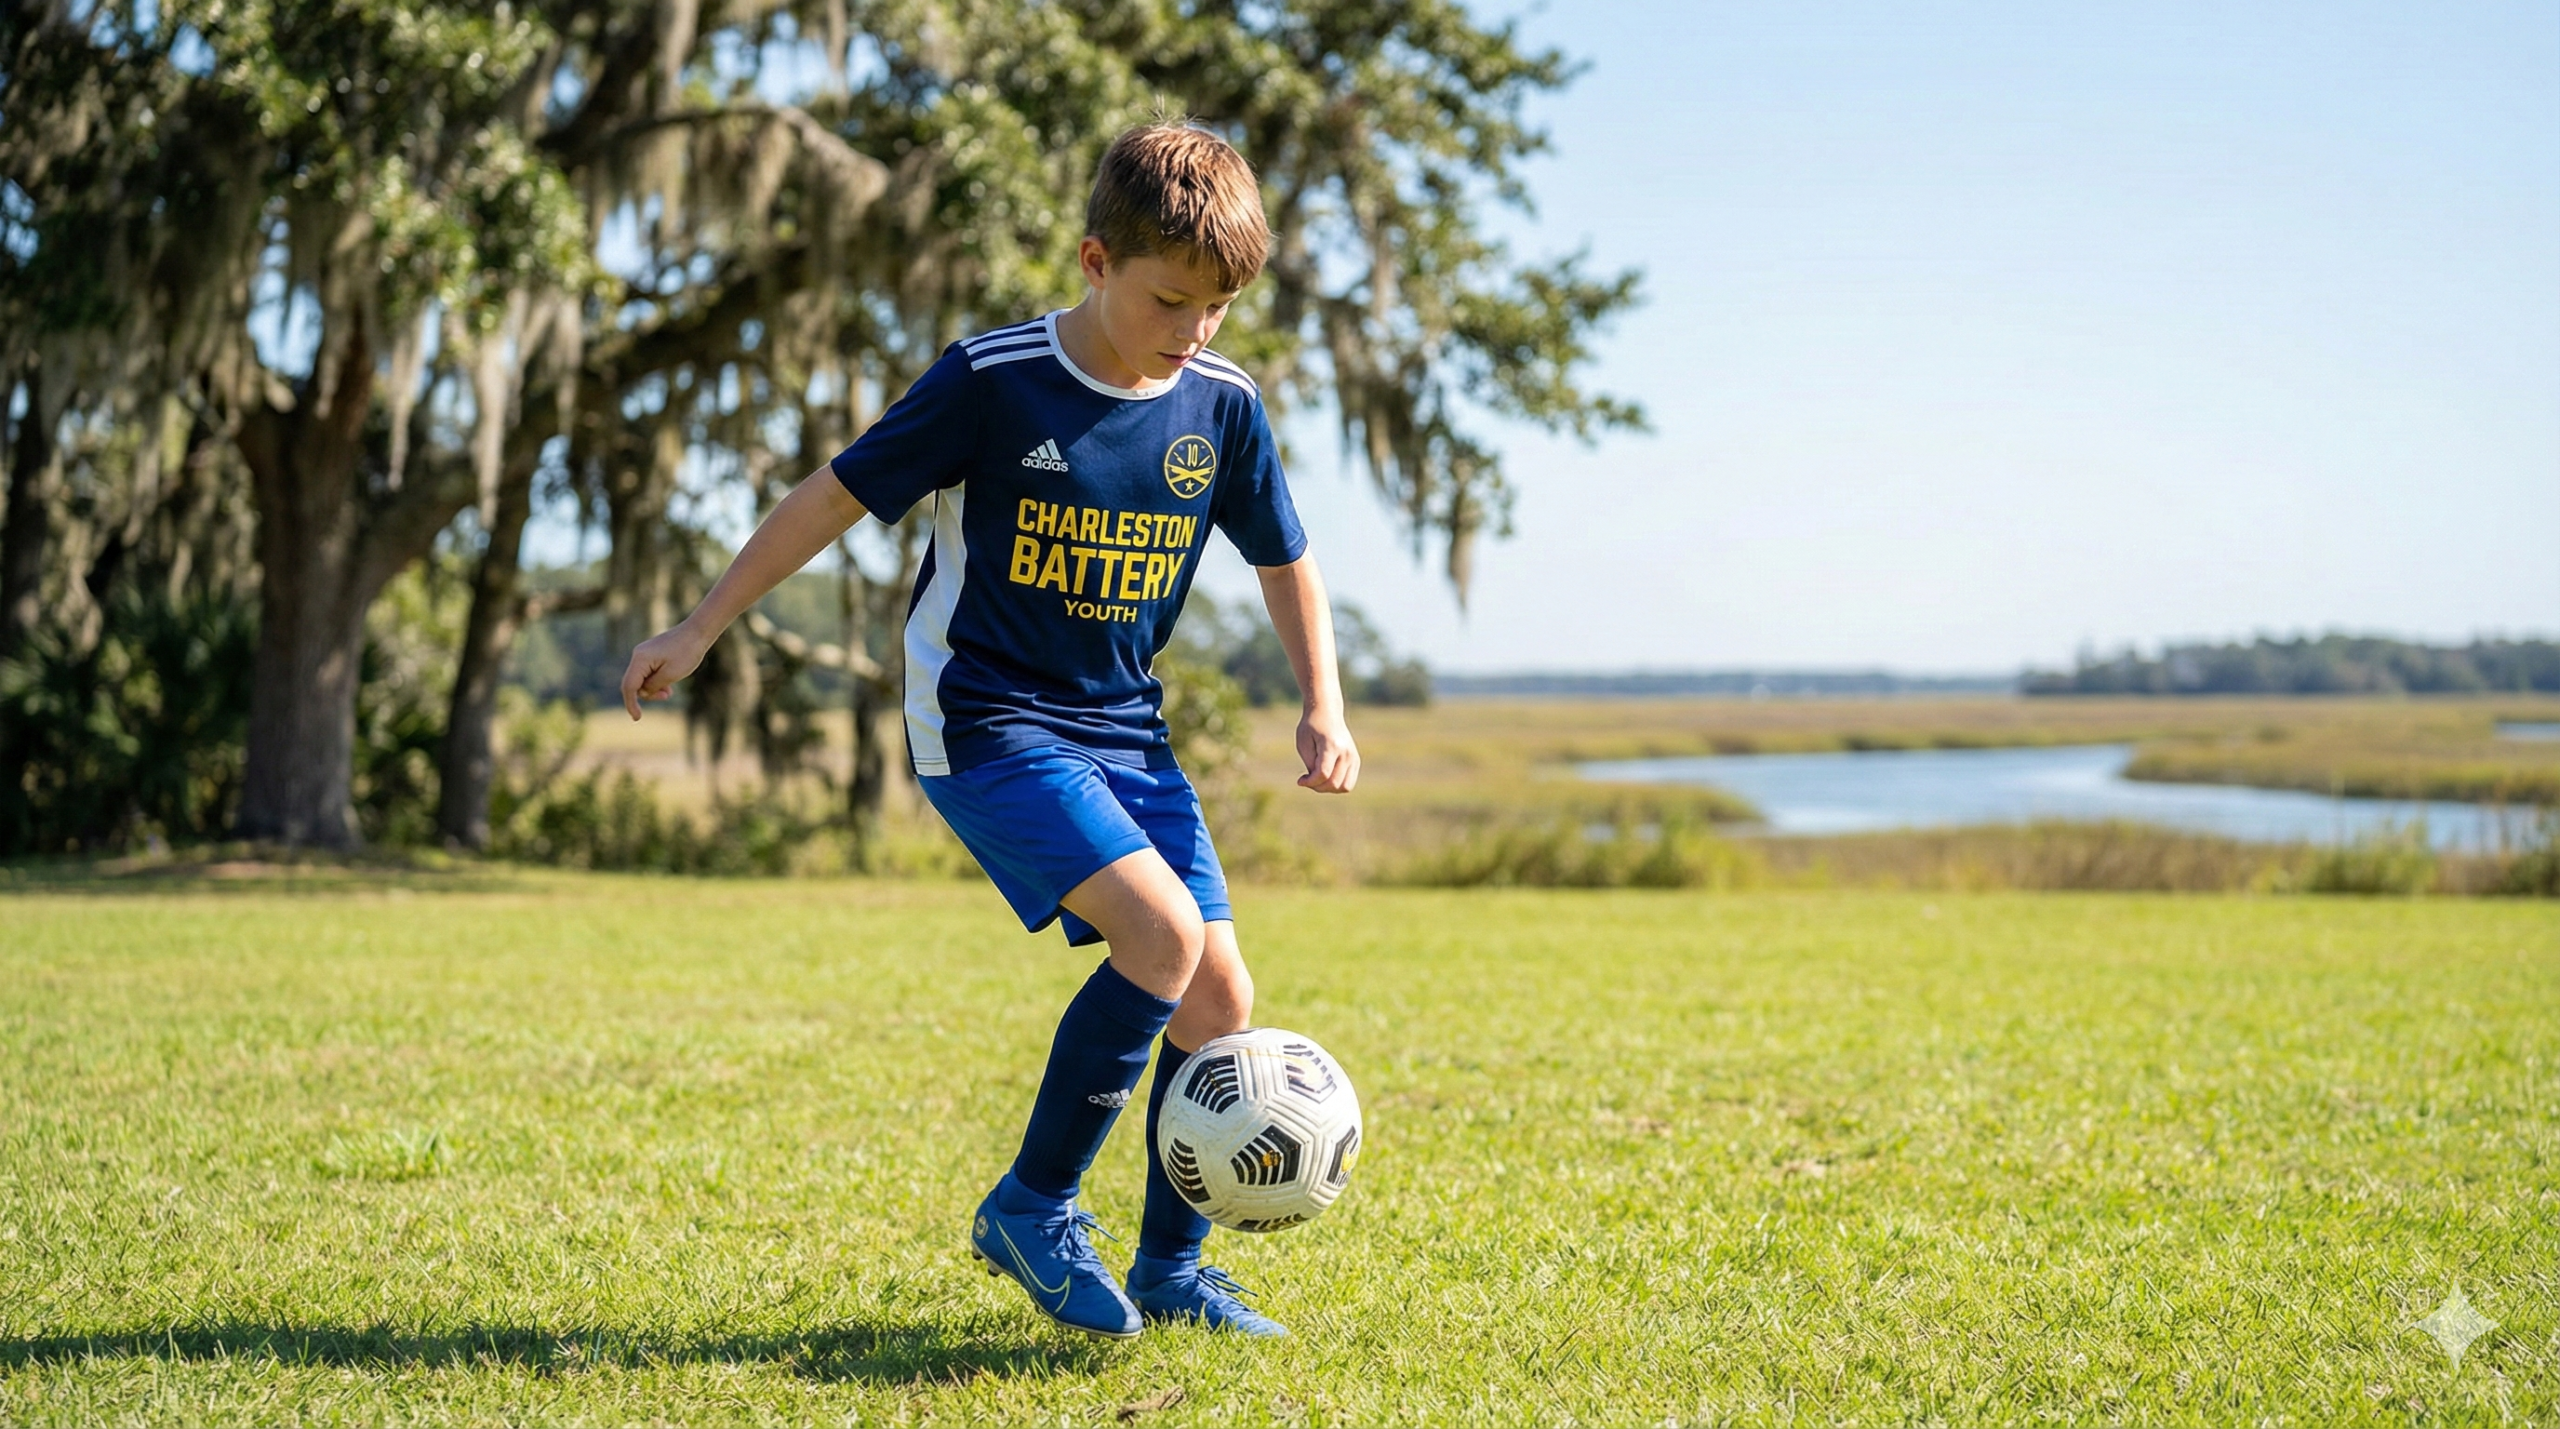
For beginners in the Charleston area, we focus on “close touches.” This means keeping the ball within a step or two of your body at all times. When you watch a pro player, the ball looks like it’s glued to their cleats. That’s the goal!
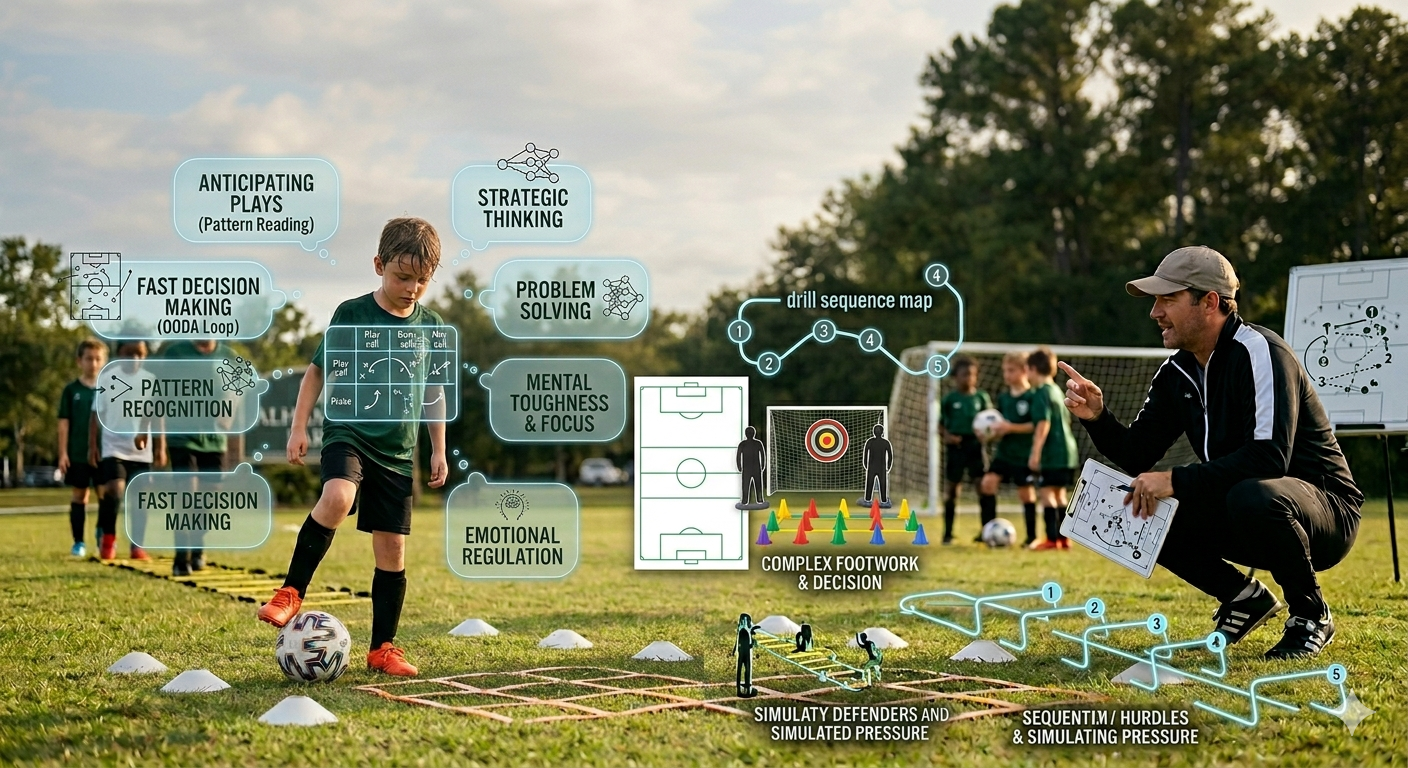
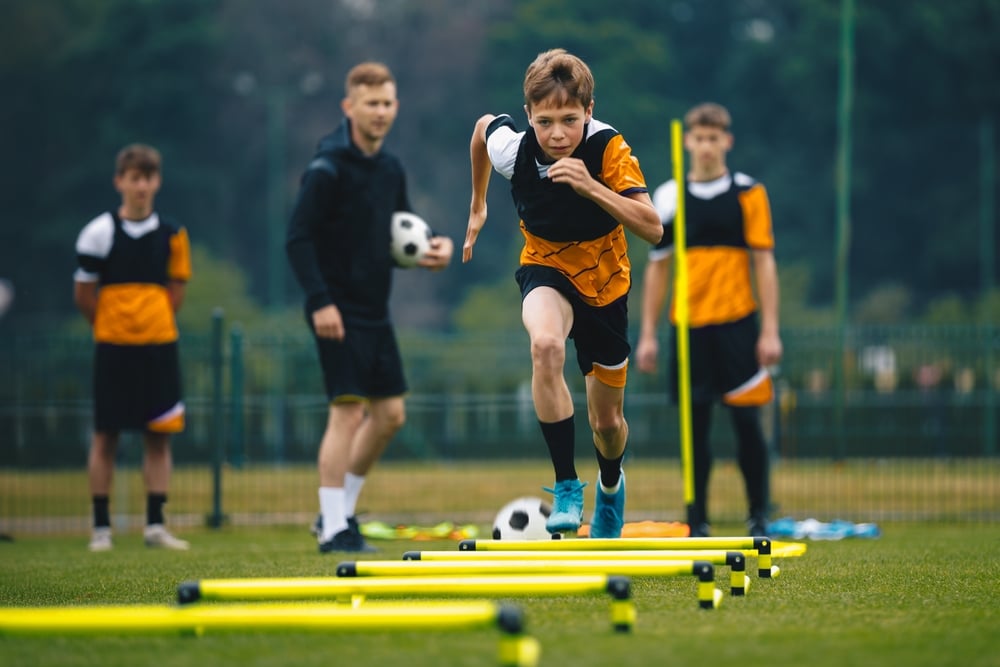
One of our favorite ways to start a session is with an exercise ladder. Using a ladder helps develop the quick footwork and coordination needed to execute fast moves on the field. It’s not just about the ball; it’s about how fast your feet can move to keep up with it.
Top Beginner Soccer Drills for Dribbling and Control
To get those touches in, we use a variety of structured exercises. A great place to start is the Dribbling Warm-up Drill. This drill is perfect because it gets players moving immediately and focuses on quality over speed.
Here are a few specific beginner soccer drills we use to build that “yo-yo” control:
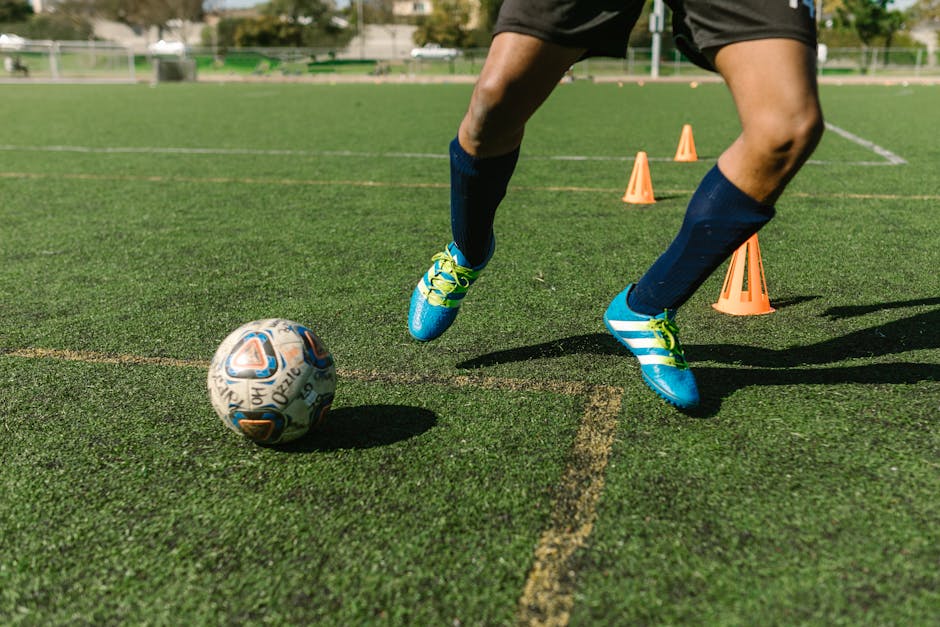
Square Dribble: Set up a 5×5 yard square with cones. Players dribble forward to the first cone, use a sole roll to move laterally to the second, pull the ball back to the third, and sole roll again to finish the square. We do this with the right foot, then the left foot to ensure balance.
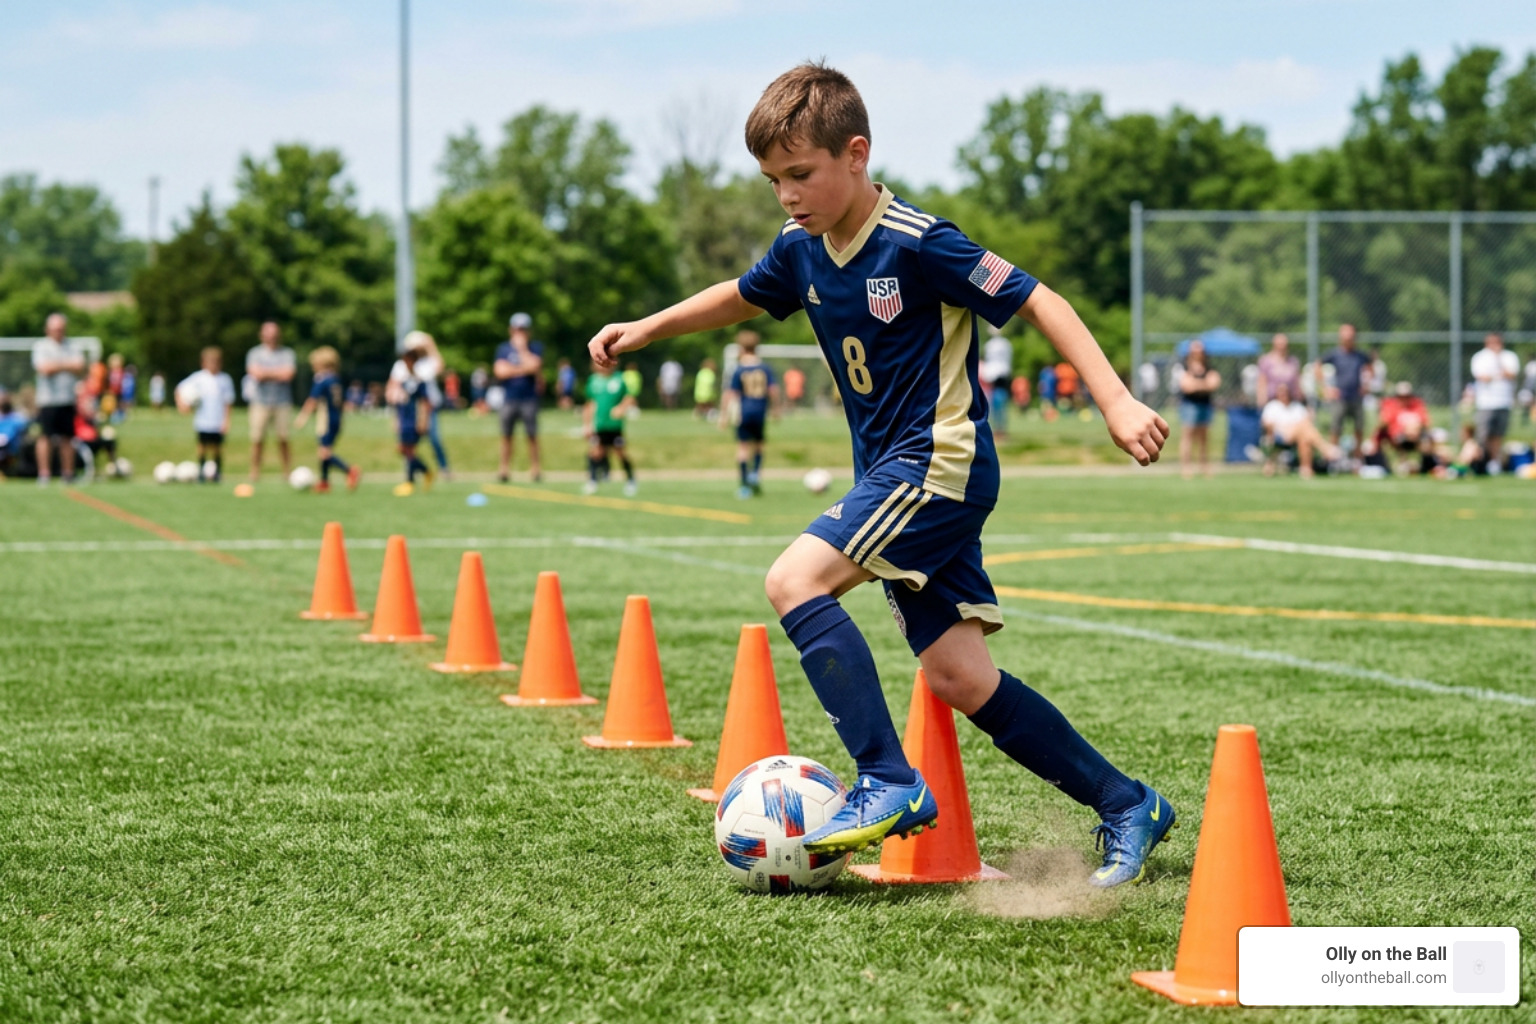
Cone Weaves: Line up 8-10 cones about a yard apart. Players weave through the cones using only the inside and outside of their feet. For an extra challenge, we use poly spots to mark specific “skill zones” where they have to perform a certain move, like a 360-degree turn.
Sole Rolls (AJAX Dribble): This involves using the bottom of the foot to roll the ball across your body. It’s a fundamental move for changing direction quickly in tight spaces.
If you want to see these in action, check out this 5 Beginner Soccer Drills Video which breaks down the basics of body positioning and touch.
Fun Dribbling Games for U6-U9 Players
For our younger players in Sullivan’s Island and James Island, we keep things exciting with games. If a drill feels like a game, kids will work twice as hard without even realizing they are training.
Sharks and Minnows: This is a classic for a reason! Minnows try to dribble from one side of the “ocean” to the other, while the Shark tries to kick their ball out of the grid. It teaches dribbling under pressure and shielding the ball.
Pirates of the Pugg: In this game, players (Sailors) try to keep their ball away from the Pirates. If a Pirate steals a ball, they try to score in a Pugg goal. It’s excellent for teaching defensive transitions and dribbling in traffic.
The Tunnel: We use a physical tunnel or create one with cones. Players have to dribble accurately through the “dark tunnel” without hitting the sides. It builds focus and precision.
Red Light, Green Light: This isn’t just a playground game. In soccer, “Green Light” means dribble fast, and “Red Light” means stop the ball dead with the sole of your foot. It teaches kids to keep their heads up and react to the coach’s whistle.
Mastering Passing and Receiving Fundamentals
Once a player can move with the ball, the next step is sharing it. Passing is the “language” of soccer. In the Lowcountry, we see a lot of “kick and run” soccer at the youth level, but we want to teach players to be intentional.
The most important part of passing for beginners is using the inside of the foot. We call this the “push pass.” It’s the most accurate way to get the ball to a teammate.
Simple Beginner Soccer Drills for Passing and Receiving
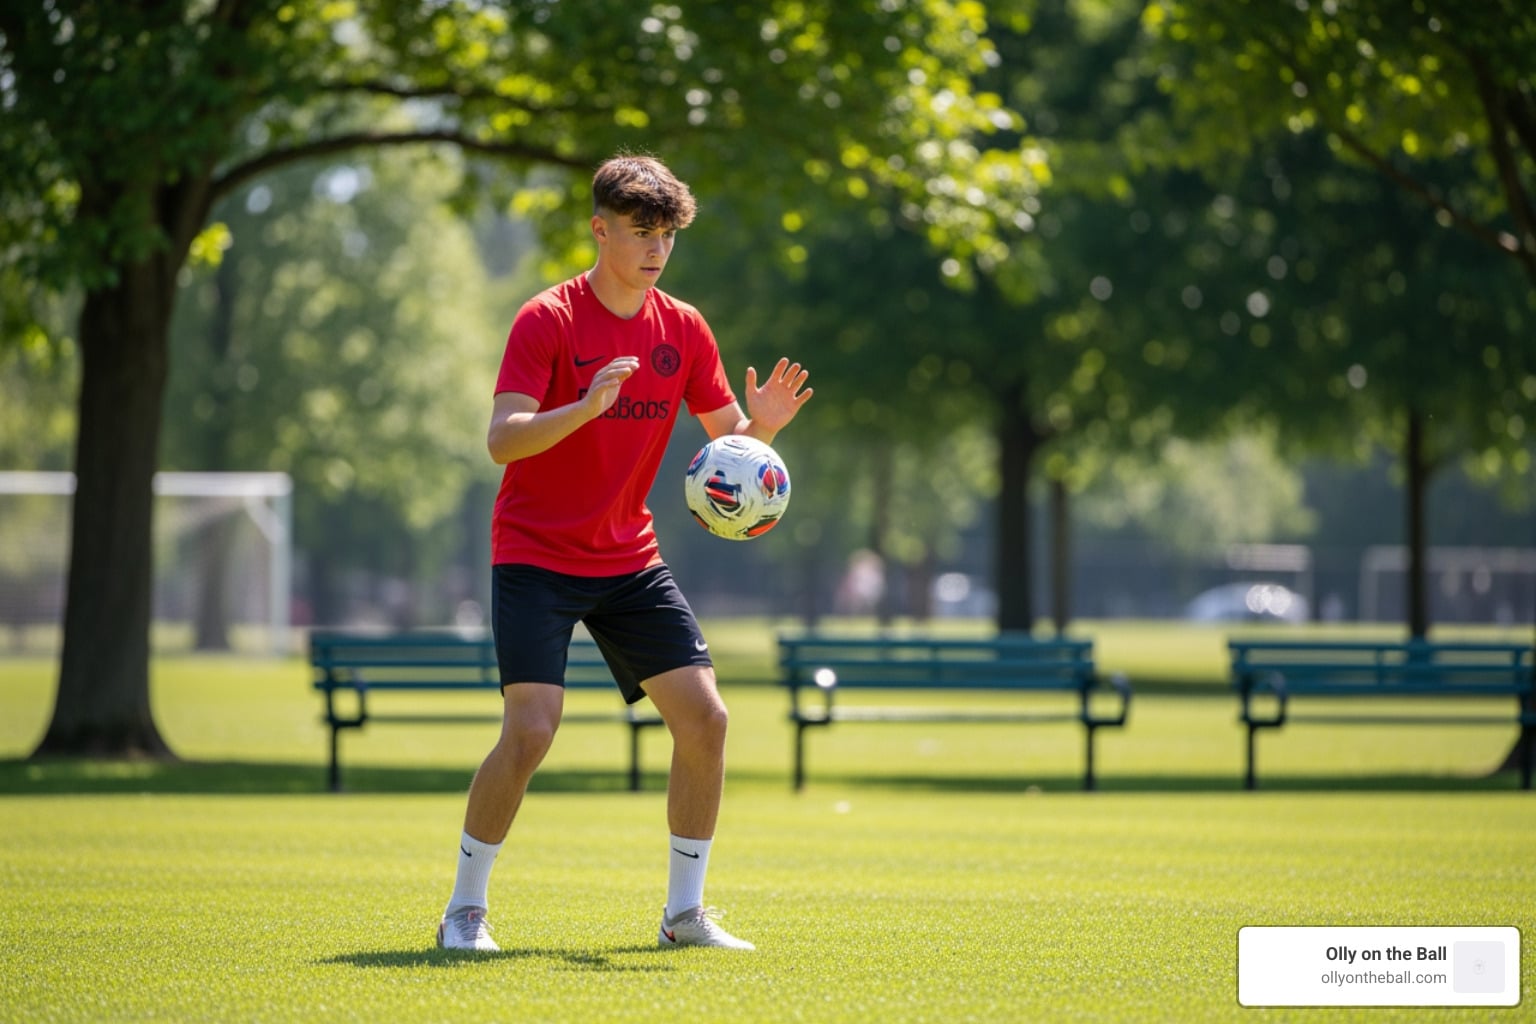
Receiving the ball is just as important as passing it. A “heavy” first touch usually results in losing the ball to a defender. We teach players to have “soft feet”—absorbing the ball’s energy like a sponge.
Partner Passing: Simple but effective. Stand 8-10 feet apart. Pass with the inside of the right foot, receive with the inside of the left, and vice versa.
Four-Cone Passing Drill: This is a fantastic Four-Cone Passing Drill that emphasizes movement after the pass. Players pass to a teammate and then immediately sprint to an open cone. This builds the habit of “passing and moving,” which is essential as they get older.
Triangle Drills: Set up three players in a triangle. This teaches the basics of support play and “opening up” your body to see the whole field.
Hula Hoop Targets: We place hula hoops on the ground. Players have to pass the ball so it stops inside the hoop. It’s a great way to practice the “weight” or strength of a pass.
For more advanced awareness, we often reference Awareness & Off The Ball Movement Training. Even for beginners, understanding where to stand when you don’t have the ball is a game-changer. We also use passing arcs to encourage players to keep their passes on the ground and accurate.
Building Confidence with Shooting Drills
Let’s be honest: every kid wants to score goals! Shooting is where the excitement happens. For beginners, we focus on two types of shots: the “finesse shot” (using the inside of the foot for accuracy) and the “power shot” (using the laces).
1v1 Diamond Shooting: This drill is a favorite in our Mount Pleasant clinics. Players compete 1v1 to reach a ball and shoot on a soccer goal. It adds a competitive element that makes players more clinical in front of the net.
Pin Knock Over: We set up plastic bowling pins or cones inside the goal. Players have to aim for the “corners” to knock them down. This discourages them from just kicking the ball straight at the goalie.
Ghostbuster Soccer: A fun game where coaches or parents act as “ghosts” and players have to “zap” them by hitting them with the ball (below the waist, of course!). It’s a great way to practice striking a moving target.
How to Structure a Fun Practice Session
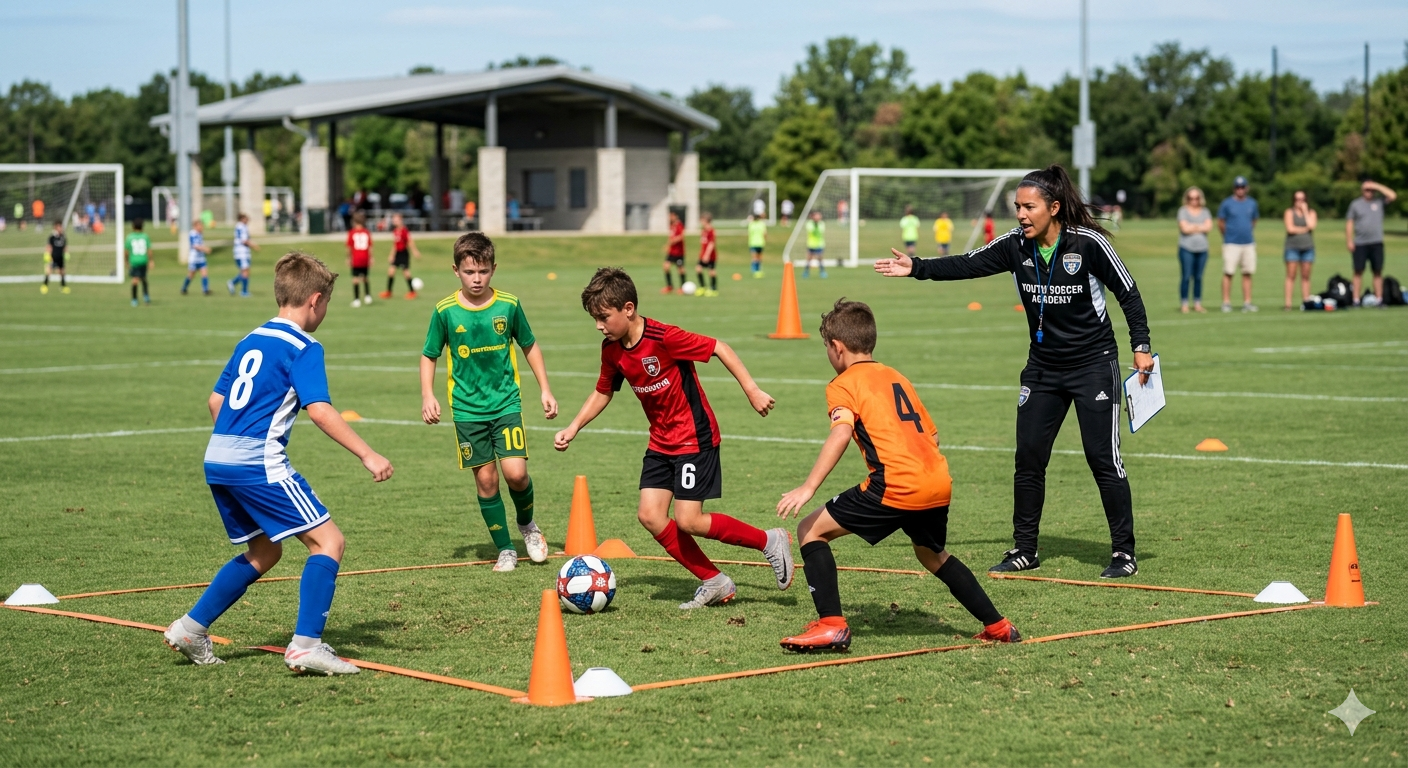
A common mistake for new coaches in Summerville or North Charleston is running a practice that is too “static.” If kids are standing in long lines waiting for their turn, they get bored and lose focus.
We follow a simple “Play-Practice-Play” or “Warm-up -> Drill -> Game” structure. This ensures that the energy stays high from the moment they step onto the field until they leave.
Teaching Basic Defending and Positioning
Defending can be tough to teach because most kids just want to chase the ball. We call this “The Beehive.” To fix this, we teach the “Goal-Side” rule: always stay between the player you are guarding and your own goal.
1v1 Stance: We teach the “surfer” stance—knees bent, on the balls of your feet, and slightly sideways. This allows the defender to react quickly to the dribbler’s moves.
Shielding: This is a vital skill. We teach players how to use their bodies to protect the ball from a defender.
Pirates of the Pugg (Defensive Version): We use the Pirates of the Pugg setup to teach defenders how to win the ball back and immediately look for a pass.
Transitioning to Small-Sided Games
The best way to learn soccer is by playing soccer. However, a full 11v11 game is way too complex for beginners. We use small-sided games (3v3 or 4v4) to ensure every child gets dozens of touches on the ball.
In the Charleston soccer culture, we emphasize “game awareness.” This means knowing where your teammates are and where the open space is. During a scrimmage, we might pause the game for a “rewind” moment to show a player where a better pass might have been.
For those moving toward more competitive play, these 7v7 Scrimmage tips are excellent for understanding basic team tactics and positioning.
Coaching Tips and Common Mistakes to Avoid
As a peer-mentor, I’ve seen what works and what doesn’t. The biggest mistake is over-coaching. Sometimes, you just need to let the kids play and figure it out.
Avoid “The Beehive”: Encourage players to find “their own island” on the field. This creates space and makes the game look like actual soccer.
Positive Reinforcement: Celebrate the effort, not just the goal. If a player tries a new move and loses the ball, praise them for the attempt!
Use Age-Appropriate Drills: Don’t try to teach a 5-year-old complex tactical overlaps. Focus on ball mastery and fun.
Gear Up: Make sure your players have the right equipment. You can Check Amazon for beginner gear to find affordable, quality items that make practice safer and more productive.
Keeping Motivation High for Young Players
Keeping kids excited about soccer is our top priority. We want them to leave practice asking, “When is the next one?”
The “Ouch!” Drill: In this drill, the coach runs around the circle, and players try to hit the coach’s legs with their balls. Every time they hit, the coach yells “Ouch!” Kids find this hilarious, and it’s secretly a great passing and accuracy drill.
Charleston Battery Inspiration: We often encourage our players to attend a Charleston Battery game. Seeing the pros play under the lights at Patriots Point is a huge motivator.
Small Rewards: Whether it’s a “Player of the Week” sticker or just a high-five, small gestures go a long way. You can even find soccer sets that include fun training aids to keep things fresh.
Safety and Equipment Essentials
Safety first! Soccer is a contact sport, even at the beginner level.
Shin Guards: These are non-negotiable. They must be worn under socks to protect the shins from accidental kicks.
Hydration: The South Carolina heat is no joke. We take frequent water breaks, especially during summer sessions in Daniel Island or Isle of Palms.
Soft Balls: For U5 and U6 players, using a slightly softer ball can help them overcome the fear of getting hit by the ball while they learn proper technique.
Proper Goals: Having a target makes a difference. Check Price for youth goals to find portable options that you can set up at any local park or in your backyard.
Frequently Asked Questions about Beginner Soccer
What equipment is absolutely necessary for a beginner?
At a minimum, your child needs a soccer ball (Size 3 for ages 8 and under, Size 4 for ages 8-12), shin guards, and soccer cleats. A water bottle is also essential. For backyard practice, a few cones and a small pop-up goal are helpful additions.
How do I modify drills for a 5-year-old versus an 8-year-old?
For a 5-year-old, focus almost entirely on “me and my ball.” Use lots of imagination—pretend the ball is a “pet” they need to take for a walk. For an 8-year-old, you can introduce more competition, partner work, and basic tactical concepts like “spacing.”
How can I help my child practice soccer in our backyard?
You don’t need a full field! Use a wall for passing and receiving practice—the wall is the best teammate because the ball always comes back! Set up a small obstacle course using household items as cones and time them to see if they can beat their personal record.
Conclusion
Mastering beginner soccer drills is a journey, not a sprint. At Olly on the Ball, our mission is to provide the fundamental skills and confidence that turn a “beginner” into a “player.” We love serving the Charleston and Mount Pleasant community, and there’s nothing better than seeing a young player finally nail a move they’ve been practicing for weeks.
If you’re looking for a peer-led, high-energy environment where your child can grow their love for the game, we’d love to help. From one-on-one sessions to small group clinics, we tailor our training to meet every player where they are.