Beginner goalkeeper drills are the building blocks every young keeper needs to develop confidence, safe technique, and real game-ready skills. If you’re looking for a quick overview, here are the core drills to start with:
Playing in goal is unlike any other position on the soccer field. You’re the last line of defense. Every save you make can swing the momentum of a game — and every goal you let in feels personal.
That’s a lot of pressure for a young keeper.
The good news? With the right fundamentals drilled early, goalkeeping becomes one of the most exciting and rewarding roles in the sport. Whether your child is just starting out in a recreational league here in Charleston or eyeing a spot on a competitive Mount Pleasant club team, the journey starts the same way — with the basics done well.
This guide walks through the essential drills, techniques, and tips to help beginner goalkeepers build a rock-solid foundation. No complicated jargon. No overwhelming training plans. Just clear, practical steps that work.
Let’s get started.

Before we jump into the beginner goalkeeper drills, we have to talk about how you stand. In the Lowcountry, whether we are training at the Bayfront or out on Daniel Island, the first thing we teach is the Ready Position.
Think of this as your “home base.” If you aren’t in a neutral, athletic stance, you won’t be able to react to a shot from a striker. To get into the perfect ready position:
For a deeper dive into how these basics evolve as you grow, check out this Goalkeeper Development Guide.
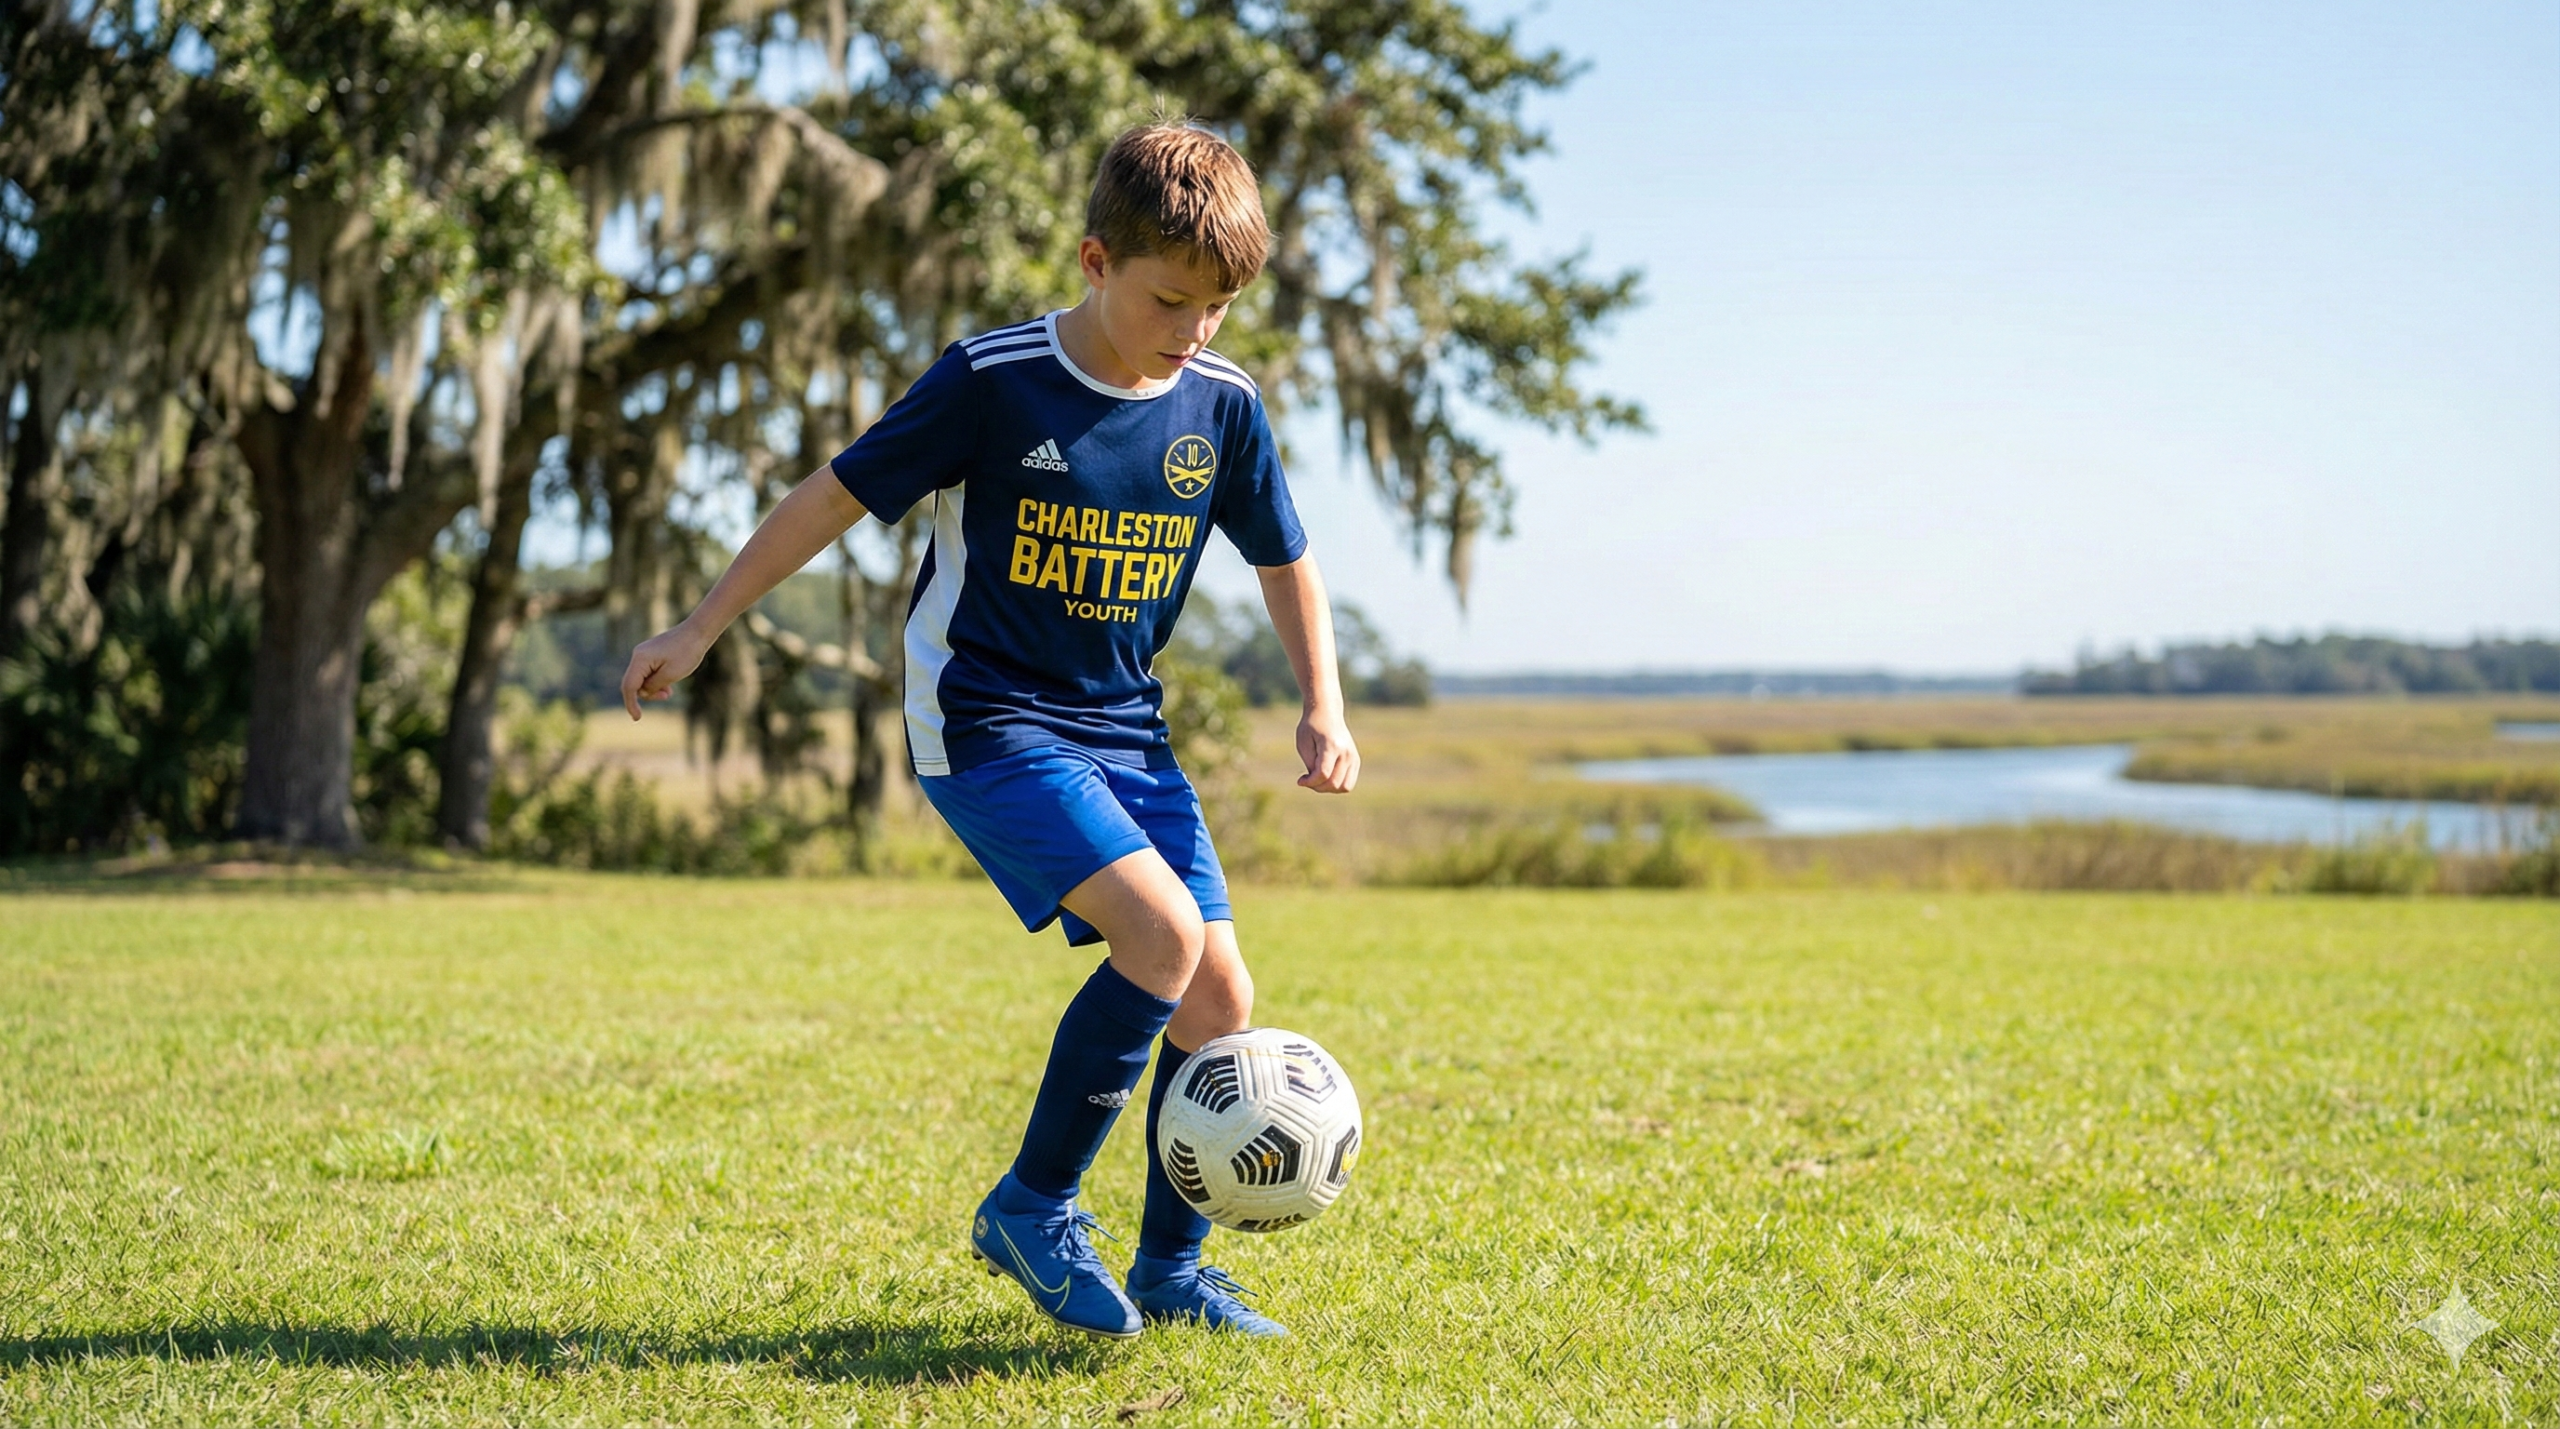
You don’t need a professional contract to look like a pro, but the right gear keeps you safe. Goalkeeping can be tough on the body, especially on some of the harder turf fields in North Charleston or Summerville.
Want to see what else we recommend for young players? Check out more tips on our blog.
Your hands are your most important tools. Most beginners make the mistake of having “T-Rex hands”—keeping their elbows tucked tight to their ribs. Instead, reach out to meet the ball!
There are three main hand shapes you need to master:

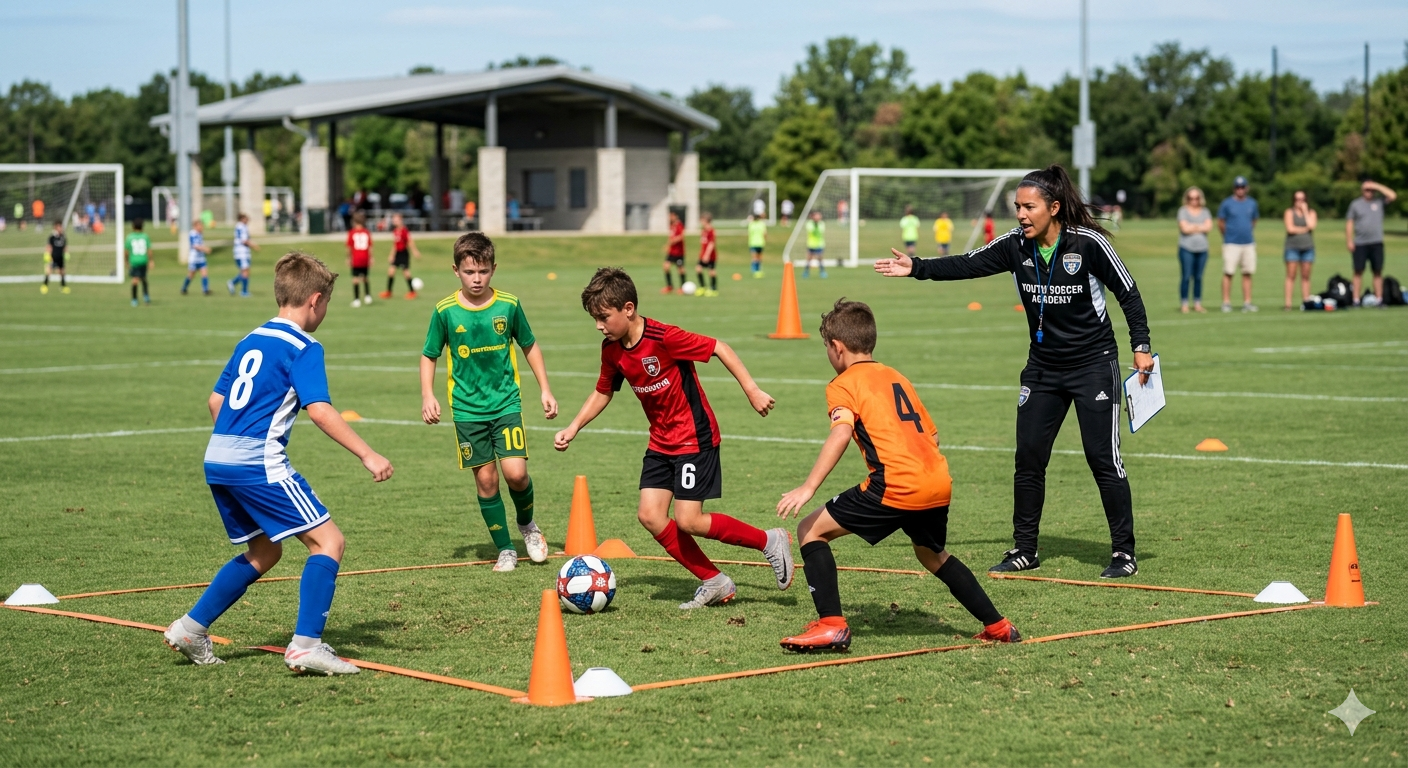
You don’t need a full team to get better. Some of the best beginner goalkeeper drills are solo exercises you can do in your backyard in Mount Pleasant.
To see how I started my own training journey and why I love helping the next generation, learn more about Olly’s journey.
Footwork is the most underrated part of goalkeeping. If your feet are in the right place, you won’t even have to dive! The golden rule is shuffling. Never cross your feet when moving across the goal. If you cross your legs and the striker shoots, you’ll be tripped up and unable to dive.
Imagine a semi-circle (an arc) that moves from one post to the other. You should always be positioned on this arc, between the ball and the center of the goal. This “cuts the angle,” making the goal look much smaller to the shooter.
| Feature | Shuffling | Crossover Steps |
|---|---|---|
| When to use | Small adjustments / Close shots | Long distances / Breakaways |
| Body Position | Always square to the ball | Side-on for speed |
| Balance | High – ready to dive | Lower – harder to react instantly |
One of our favorite spots for footwork is Alhambra Park. Try these beginner goalkeeper drills to get faster:
Diving is the most “superhero” part of being a keeper, but it has to be done safely. We never want to land on our elbows or knees—that’s how injuries happen.
The Catch and Collapse Technique:
It’s normal to be a little scared of the ball at first. To build bravery, we start on soft grass or even sand (Sullivan’s Island is great for this!).
If you want to master these diving techniques safely, contact Olly for private sessions.
A goalkeeper who doesn’t talk is just a shot-stopper. A goalkeeper who communicates is a leader. You have the best view of the whole field, so you need to be the “voice of the defense.”
Key Cues to Shout:
Try a Partner Call Drill. Have a partner throw a ball high into the air. You must sprint out, jump to catch it at the highest point, and scream “KEEPER!” as loud as you can. It builds the habit of claiming your space. We see this all the time with the pros at the Charleston Battery—they command their box with total confidence.
This is totally normal! Start with softer balls, like a foam ball or even a beach ball. Practice the catching motion without the fear of a hard impact. As they get comfortable with the technique, transition back to a standard soccer ball. Positive reinforcement is key—celebrate the effort, not just the save!
For players aged 5-14, we recommend 1-2 goalkeeper-specific sessions per week, in addition to their regular team practices. Quality is better than quantity. A focused 30-minute session on beginner goalkeeper drills is better than two hours of standing around.
We believe kids shouldn’t specialize solely in goalkeeping until they are at least 12 years old. It’s important for young players to play on the field too. This helps them understand the game, improves their foot skills, and makes them a more well-rounded athlete.
Mastering the art of goalkeeping takes time, patience, and a lot of grass stains. But there is no better feeling than making that game-winning save and hearing your teammates cheer.
At Olly on the Ball, we are dedicated to helping the next generation of Lowcountry legends find that confidence. Whether we are training in Mount Pleasant, James Island, or downtown Charleston, our focus is always on the fundamentals, building your self-belief, and having a blast on the pitch.
Ready to take your game to the next level? From mastering the ready position to learning advanced diving saves, I’m here to help you every step of the way.