How to Turn Your Tiny U9 Strikers into Goal Machines
Mastering the Basics: Fundamental U9 Shooting Techniques
Before we dive into the high-energy drills, we have to talk about the “how.” At Olly on the Ball, we believe that mastering the core mechanics is what separates a player who just kicks the ball from a true finisher. For an 8-year-old in Charleston, the goal isn’t just to hit the ball hard; it’s about clean contact.
Plant Foot Placement: This is the “aiming” foot. It should land about six inches to the side of the ball, pointing exactly where the player wants the ball to go. If the plant foot is too far back, they’ll lean back and sky the ball over the crossbar at the local Mount Pleasant rec fields.
Body Posture: Keep the head over the ball. A common mistake is leaning back to try and get “lift.” We want our U9s to stay balanced, with their chest slightly forward, which keeps the shot low and powerful.
The Follow-Through: Don’t just “poke” and stop. Encourage players to land on their shooting foot after the strike. This ensures they’ve put their body weight through the ball.
It is a natural instinct for a 9-year-old to want to “blast” the ball as hard as possible. However, in u9 shooting drills, we always preach placement over power. A ball rolled accurately into the corner is a goal every time; a rocket that hits the trees behind the goal is just a lost ball!
Using the inside of the foot for placement is often more effective than using the laces for raw power at this age. We teach our strikers to aim for the “side netting” or the back post. Why the back post? Because it’s the hardest spot for a young goalkeeper to reach, and even if the keeper blocks it, the rebound usually falls right back to one of our teammates. If you’re looking for a structured way to teach this, the Goal scoring training system offers great insights into precision-based finishing.
The “No Toes” Rule for Young Strikers
If there is one thing we repeat constantly during our sessions in Daniel Island and Summerville, it’s: No toe-pokes! While a “toe-ie” might work in the backyard, it lacks control and can actually lead to foot injuries as players get older.
Instead, we focus on:
Laces (The Instep Drive): For power. The toe should be pointed down, the heel up, and the ankle locked tight like a piece of wood.
Inside of the Foot: For accuracy. The toe is up, the heel is down, and the foot is turned out like a hockey stick.
Building these habits early is the key to long-term success. Check out these proven skill development drills to help your player get comfortable with different surfaces of the foot.
Essential Gear and Setup for Lowcountry Training
You don’t need a professional stadium to run elite u9 shooting drills. Whether we are training at a park in James Island or a backyard in Mount Pleasant, the setup remains simple and effective.
The Ball: U9 players should use a Size 4 ball. It’s the perfect weight for their developing leg muscles.
Cones: Disc cones are essential for marking “gates” to shoot through or “defenders” to dribble around.
The Goal: If you don’t have a standard goal, two cones or even two bags will work. Just make sure the “goal” is age-appropriate (usually 6×12 or 6.5×18 feet).
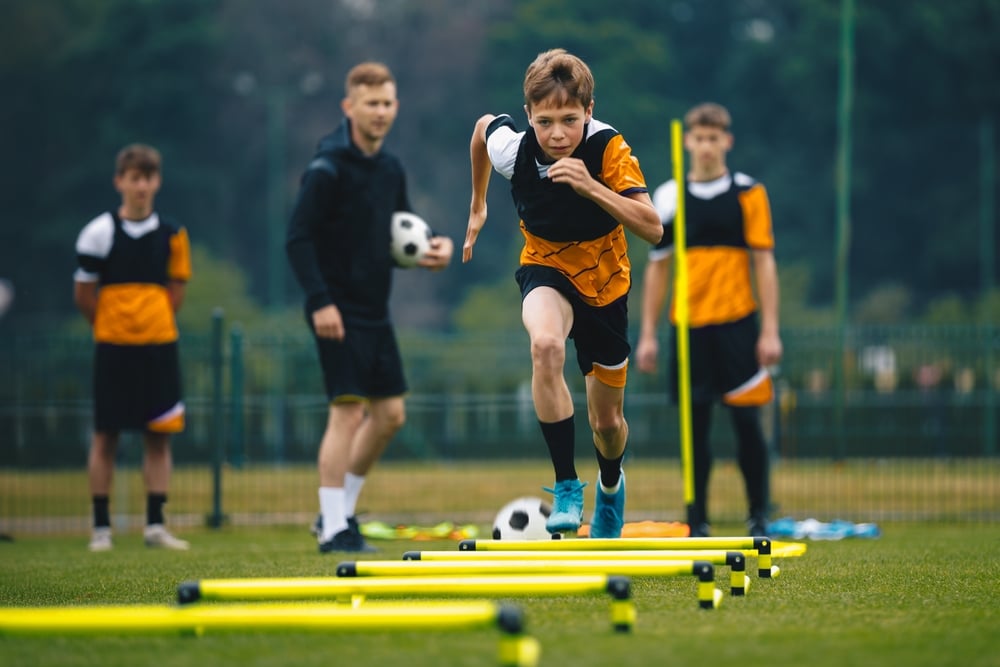
Agility Tools: A simple agility ladder helps players work on the quick footwork needed to set up a shot.
The South Carolina heat is no joke! Always have plenty of water and schedule breaks every 15 minutes to keep the energy high. For more on setting up the perfect practice space, see our ultimate guide to ball control.
7 High-Energy u9 shooting drills to Try Today
The best way to keep 8 and 9-year-olds engaged is to keep them moving. Long lines are the enemy of a good practice! These drills focus on high repetitions and game-like pressure to ensure the skills stick.
This is a classic “wall pass” drill that teaches players how to combine with a teammate before finishing.
Setup: Place two cones 5 yards apart, a “shooting gate” 3 yards further, and the goal 5 yards beyond that.
Execution: The player dribbles toward the second cone, passes to a “server” (coach or parent), receives a return pass around the cone, and shoots first-time through the gate.
Coaching Point: Encourage a “first-touch” shot. Don’t let them take three touches to set it up!
This drill is perfect for strikers who often find themselves with their back to the goal.
Setup: A target player stands 15 yards from goal with a defender (can be passive at first) on their back.
Execution: A teammate passes the ball into the target player. The target must shield the ball, use the outside of their foot to turn quickly, and fire a low shot to the far post.
Coaching Point: Stay balanced with bent knees during the turn.
This is a fan favorite in the Charleston area because it’s fast and competitive.
Setup: Assign a number to two lines of players facing the goal.
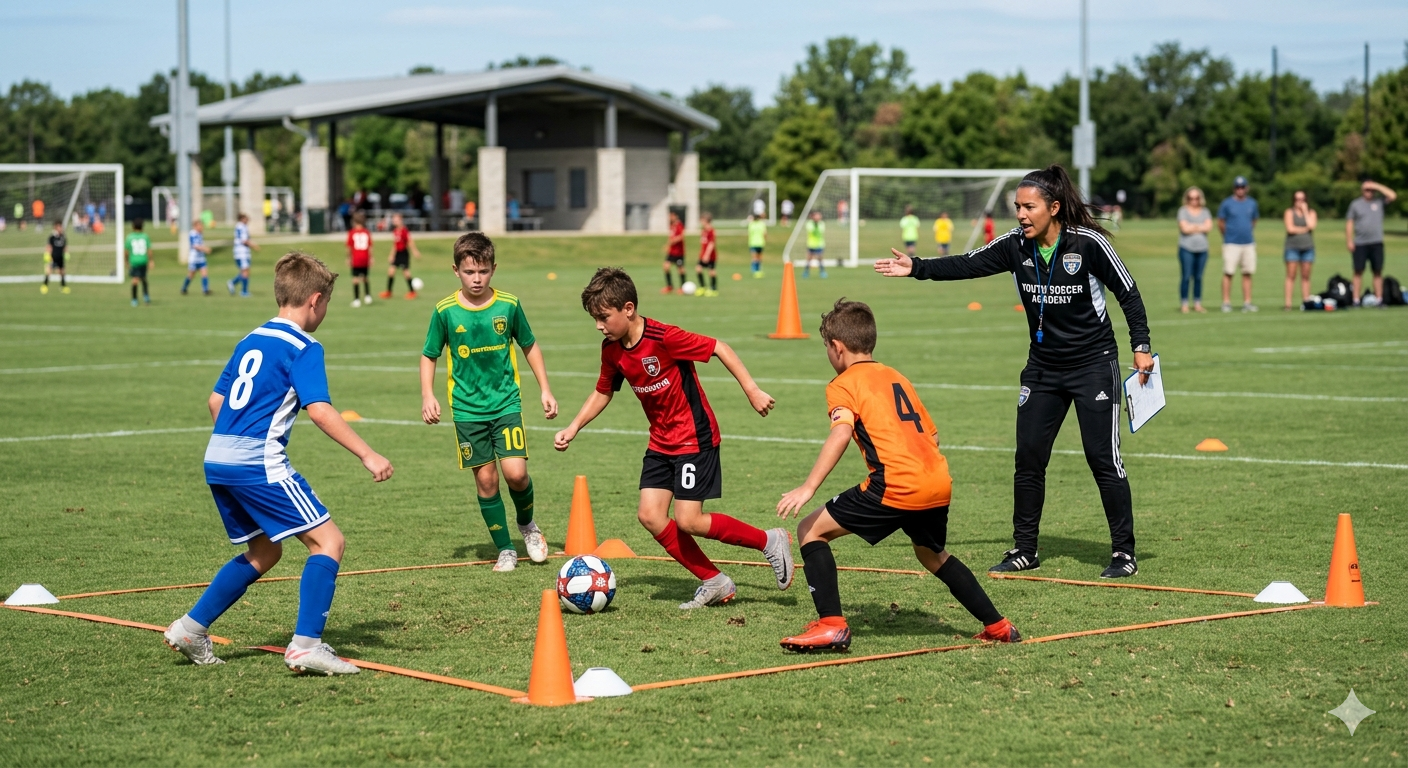
Execution: The coach calls out a number (e.g., “Two!”). The “Number Twos” from both sides sprint around a cone and race to a ball placed in the middle. The first one to the ball becomes the attacker; the other becomes the defender.
Coaching Point: This builds reaction speed and the ability to shoot while being chased!
4. Give and Go Overlap
This drill introduces more complex attacking movement.
Setup: Three lines of players. Line 1 has the ball.
Execution: Player 1 passes to Player 2 (the “wall”), who passes it back into space. Player 1 then plays a through ball to Player 3, who has made an overlapping run. Player 3 finishes on goal.
Coaching Point: Timing is everything. Don’t run too early, or you’ll be offside!
5. Diamond Shooting Drill
This drill has a 4.29/5 rating among coaches for a reason—it works!
Setup: Four cones in a diamond shape outside the penalty area.
Execution: Players follow a passing pattern (A to B, B to C, C to D) before Player D takes a 1v1 touch toward the goal.
Fun Twist: If the shooter misses, they become the goalkeeper for the next round. This keeps everyone focused!
6. Power + Finesse Circuit
This teaches players that different situations require different types of shots.
Setup: A ball on a cone (dead ball) at 20 yards, and a second ball ready for a pass.
Execution: The player strikes the dead ball with their laces for power. Immediately after, they sprint toward the corner of the box, receive a pass, and use the inside of their foot for a finesse shot into the side netting.
Coaching Point: Quick “cognitive shifts”—switching from “power mode” to “accuracy mode” in seconds.
7. Dribble and Shoot Circuit
Perfect for building “eyes up” awareness.
Setup: A 10×10 yard area with a small gate made of cones.
Execution: The player must dribble through a series of cones, look up to find the “open” side of the goal (marked by a coach holding up a colored cone), and shoot through the gate.
Coaching Point: Don’t look at your feet! Look at the ball, then look at the target.
Coaching Tips: Correcting Common Mistakes in u9 shooting drills
As a peer-mentor, I see the same three mistakes over and over again. Correcting these early makes a massive difference in a player’s confidence.
The “Leaning Tower”: Players lean back, causing the ball to fly high. Tell them to “keep your nose over the ball.”
The “Soft Ankle”: If the ankle isn’t locked, the shot will be weak and shaky. Remind them to make their foot “hard like a rock.”
The “Swarm” Mentality: In games, U9s often get crowded. Use passing drills to stop the swarm so they can find the space needed to actually get a shot off.
How to Incorporate Decision-Making
A drill where a player knows exactly when and where they are shooting isn’t 100% realistic. In a real game at the Isle of Palms or Daniel Island, they have to decide to shoot.
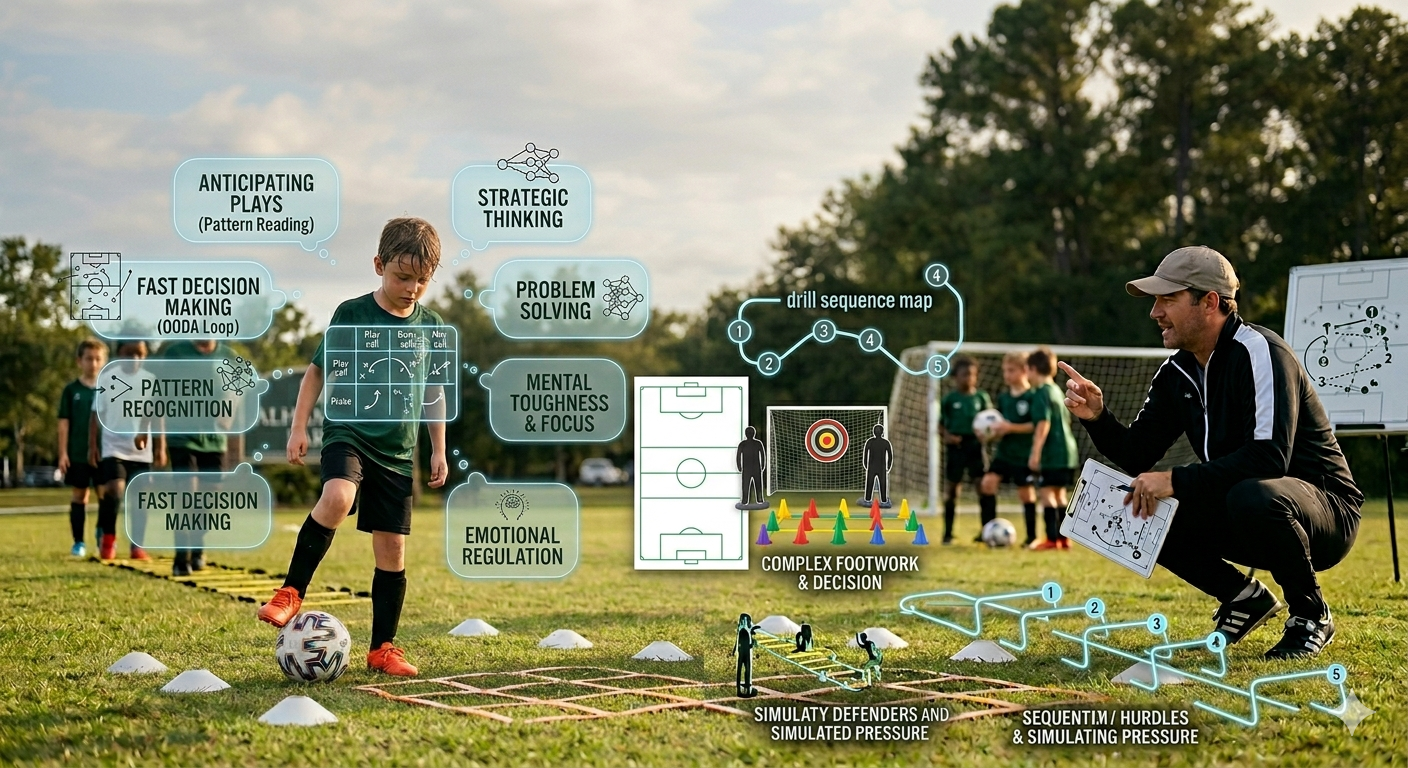
To fix this, we use Number Shooting. I’ll call out a number or show a hand signal while they are dribbling.
Hand up: Shoot immediately.
Hand to the side: Dribble around the cone first.
Two hands up: Pass back to the coach.
This builds “cognitive dexterity,” helping them react faster in game situations. It’s the same way the pros train—even if they’re doing it in a smaller space, like how you can train like Messi in a phone booth.
Managing Goalkeepers and Rotations
At age 8 and 9, everyone should try every position. We never stick one kid in goal for the whole practice.
The Rotation: If you miss a shot, you become the keeper. This keeps the drill moving and teaches strikers what a goalkeeper sees.
GK Ready Position: Teach them to stay on their toes, knees slightly bent, and hands at hip height.
Safety First: Never let players shoot until the goalkeeper is ready and looking at them!
Frequently Asked Questions about U9 Shooting
How much time should we spend on shooting in a 60-minute practice?
We recommend about 15-20 minutes of focused shooting. A good session structure is: 10 mins warm-up, 15 mins technical passing/dribbling, 20 mins shooting drills, and 15 mins small-sided game (scrimmage) where they can apply what they learned.
What is the best way to track a player’s shooting progress?
Keep it simple! Track “Successful Strikes” (clean contact) rather than just goals. You can also set up a “Target Challenge”—how many times can they hit a specific cone in the corner of the goal out of 10 tries? Over a month of training in Charleston, you’ll see that number go up.
How do I make shooting drills fun for 8-year-olds who lose focus?
Competition is the secret sauce. Turn everything into a game. “First team to 10 goals wins” or “The Last Man Standing” elimination games work wonders for keeping kids engaged. At Olly on the Ball, we make sure every session ends with a smile and a high-five.
Conclusion: Ready to Master the Lowcountry Goal-Scoring Scene?
Turning a U9 player into a goal machine doesn’t happen overnight, but with the right u9 shooting drills, it happens faster than you think. By focusing on fundamental skills, building confidence, and fostering a genuine love for the game, we help young players in Charleston and Mount Pleasant reach their full potential.
Whether you’re looking for one-on-one mentoring or a small group clinic to sharpen those finishing skills, I’m here to help. As a peer who is active in the modern game, I relate to these players in a way that traditional coaches sometimes can’t.