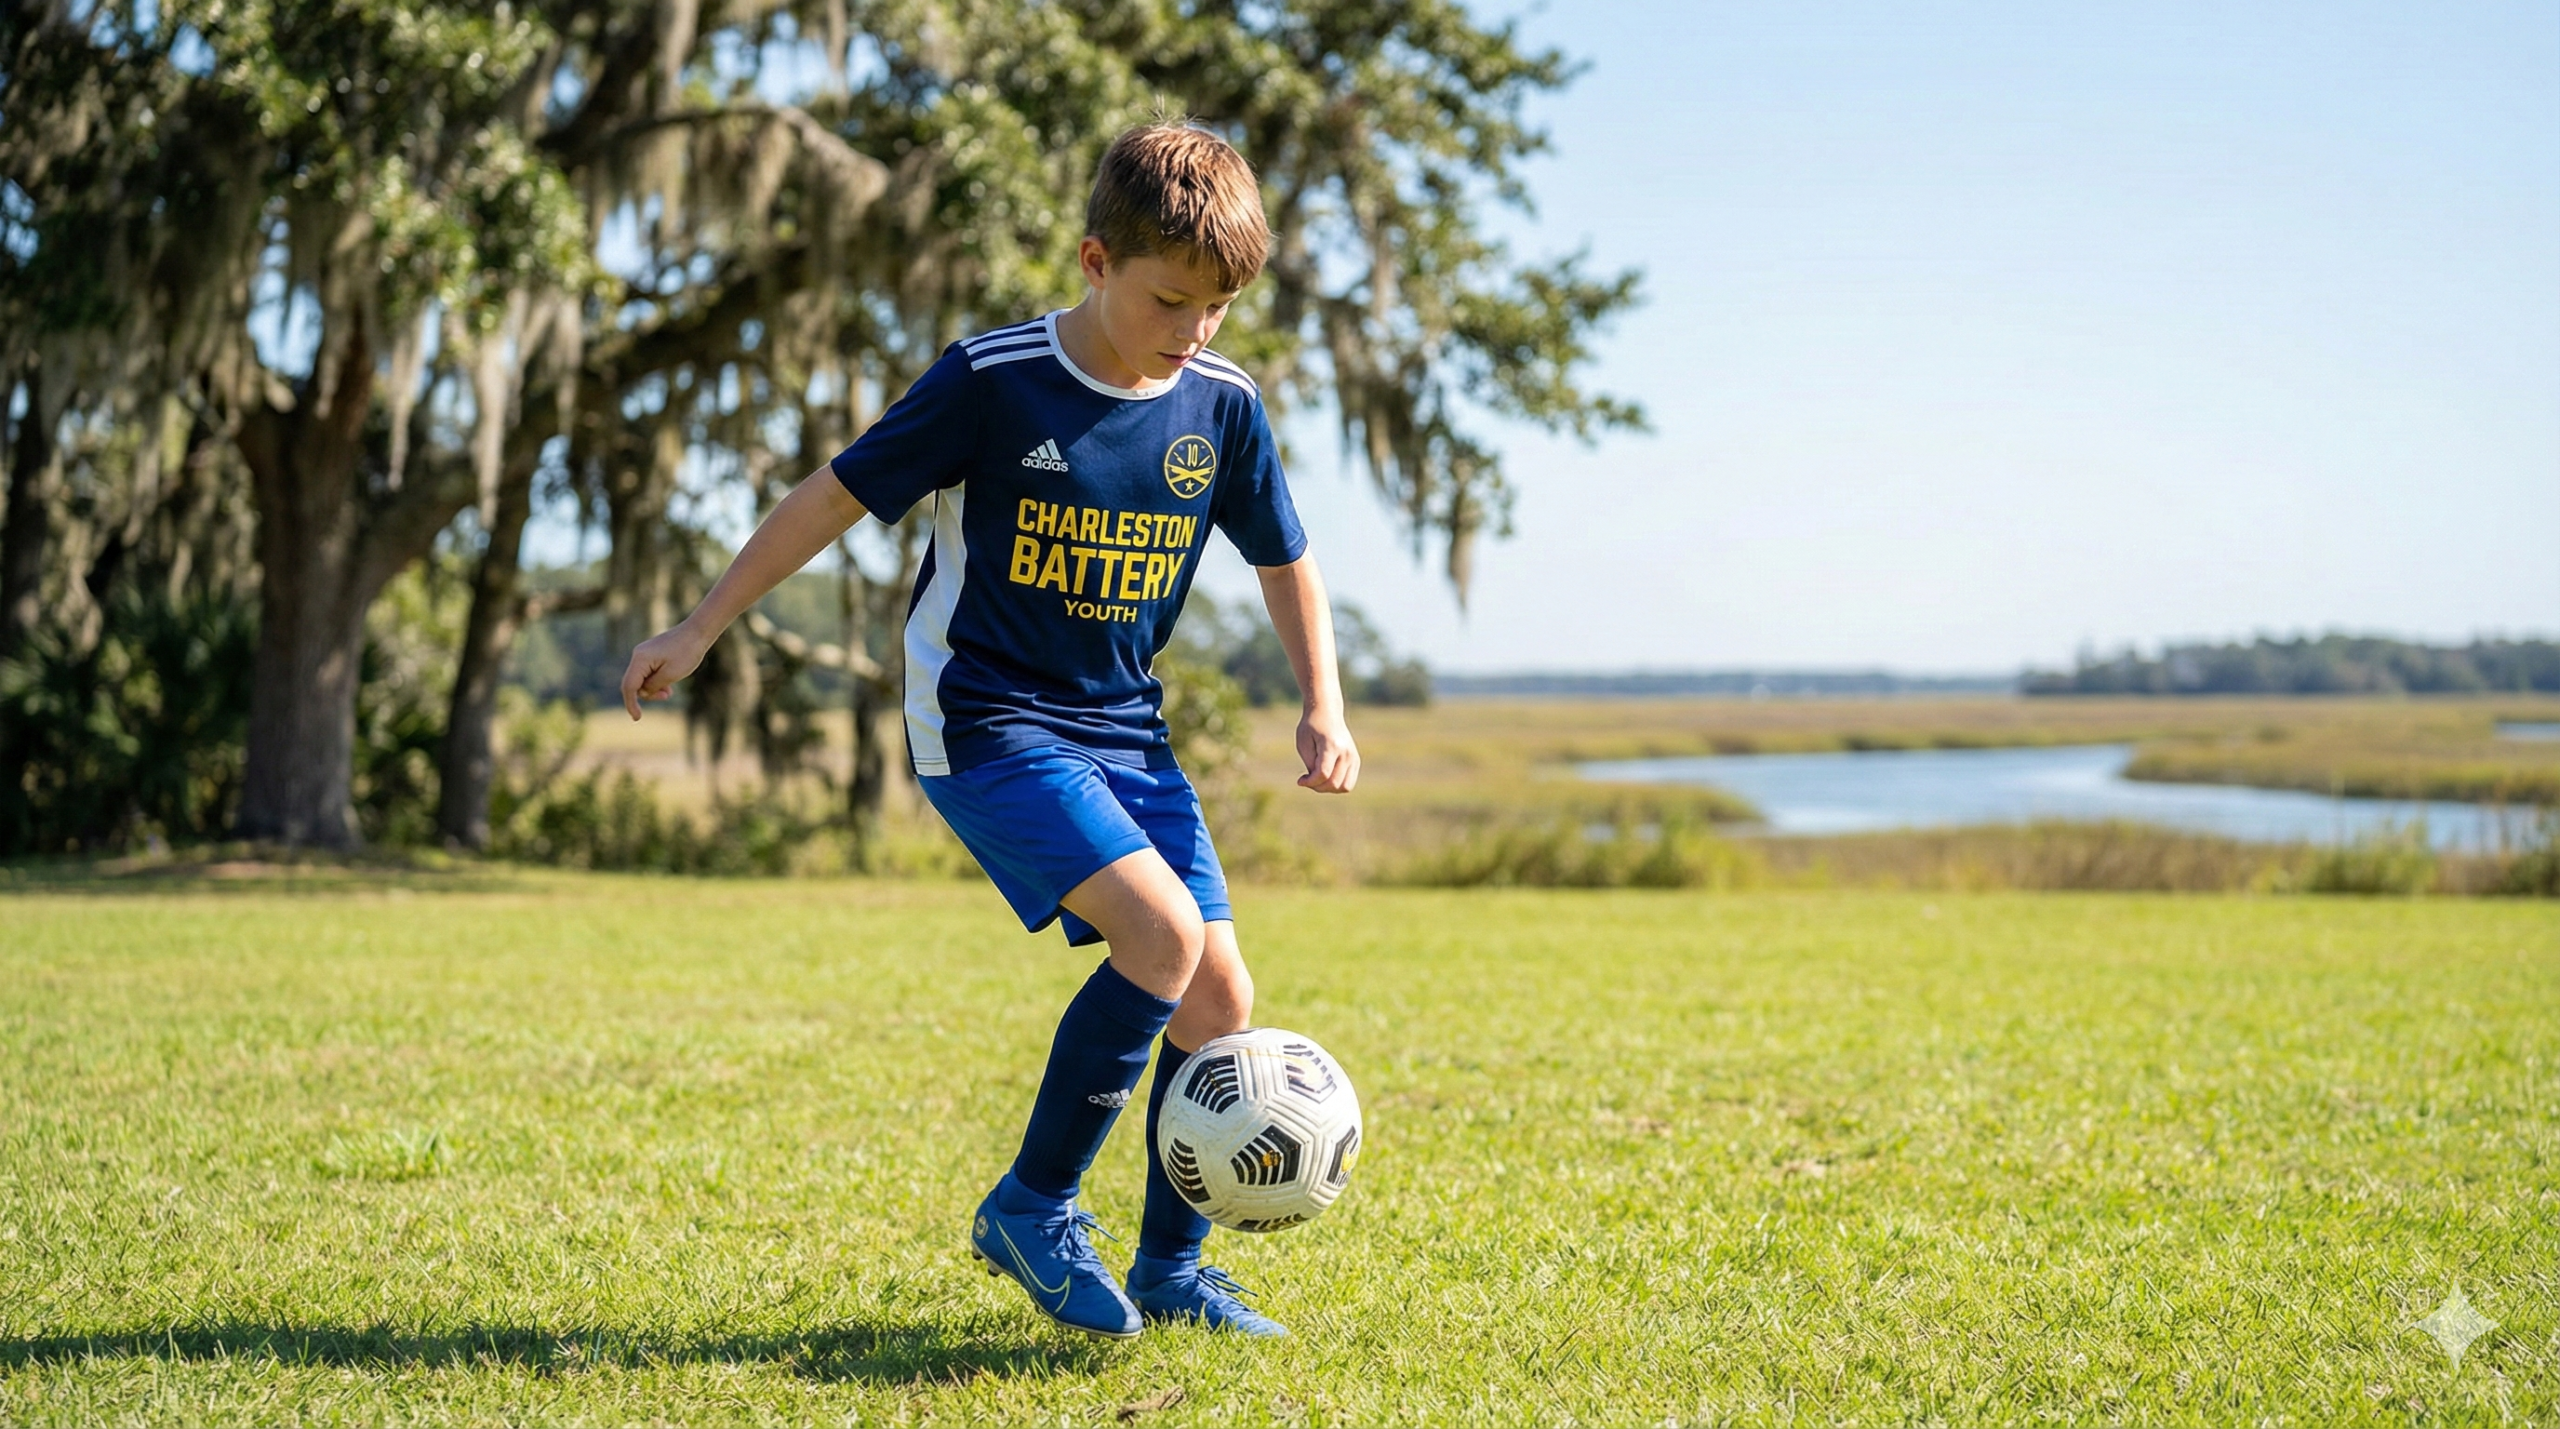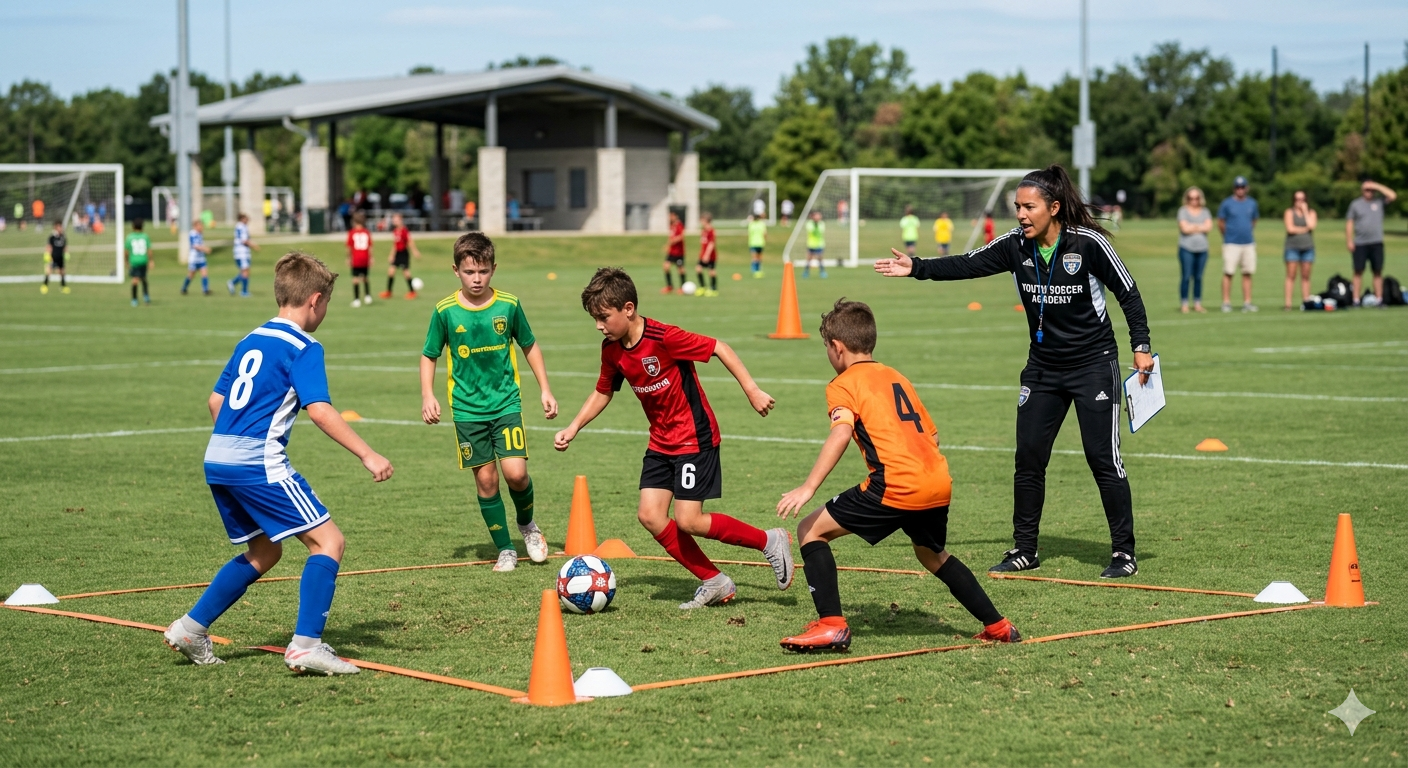

Ask any good coach what separates the players who keep getting better from the ones who plateau and they’ll almost always say the same thing: ball control. If a player can’t keep the ball close to them, nothing else they learn — passing, dribbling, finishing — is going to hold up under pressure. That’s why in almost every session I run as part of my Olly on the Ball youth training in Mount Pleasant, we spend real time on ball control.
I’m Olly — I play for the Charleston Soccer Club and volunteer with the Charleston Battery. The drills below are five of my favorites for kids ages 5–12. They need almost no equipment (a ball, a few cones or shoes as markers, and a flat surface), they’re fun, and they actually transfer to a real game. I’ll give you the setup, how I run it, age variations, and the one coaching cue I use every time.
Parents — feel free to try these at home with your player. Even 10–15 minutes a few times a week will move the needle fast.
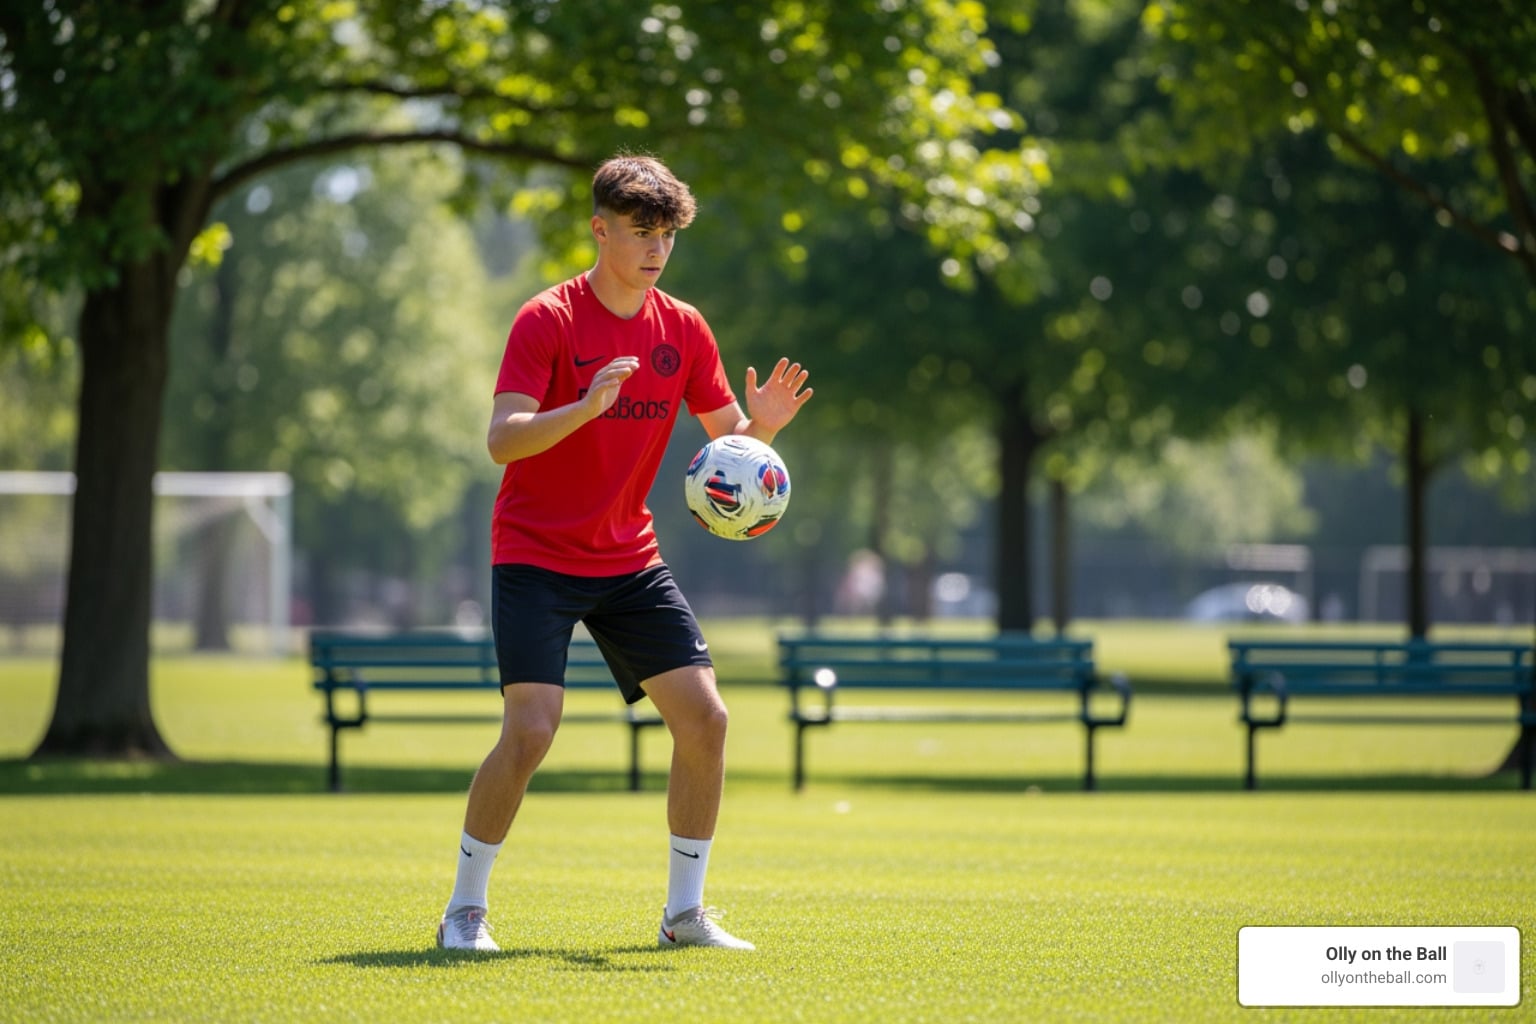
What it teaches: Foundation touches, balance, getting comfortable with both feet on top of the ball.
Setup: Place the ball still on the ground. Player stands behind it.
How to run it: The player taps the top of the ball with the sole of one foot, then switches to the other foot, then back. Start slow. Aim for 20 taps without losing rhythm. Once that feels easy, speed it up.
Age variations:
Coaching cue: “Light feet, eyes up.” Even at 6 years old I want them practicing looking up — the ball won’t always be where they expect it.
What it teaches: Comfort with the bottom of the foot, smooth surface changes, ball familiarity.
Setup: Same as Drill 1 — ball still, player behind it.
How to run it: Player does 10 toe taps (just the front of the toe, kissing the top of the ball), then immediately rolls the ball side-to-side using the sole — left foot rolls the ball right, right foot rolls it left, like wiping it back and forth. We do three rounds.
Age variations:
Coaching cue: “Soft touch, never stomp.” Younger players want to slam the ball — we’re teaching gentle, controlled contact.
What it teaches: Close control in tight space — the most game-realistic ball control skill there is.
Setup: Make a small box with 4 cones (or shoes). About 5 yards by 5 yards for younger kids, 4 yards by 4 yards for older ones.
How to run it: The player dribbles inside the box for 30 seconds, taking lots of touches and changing direction. The ball can never touch a cone, and they can’t exit the box. We count “good touches” — every touch counts as one rep.
Age variations:
Coaching cue: “Close to the laces.” The ball should never get more than a foot away from the player.
What it teaches: First touch, deceleration, change of direction — three things every soccer player needs.
Setup: Two cones about 10 yards apart. Player starts at one cone with the ball.
How to run it: Player dribbles toward the other cone. Halfway there, the coach (or parent) yells “STOP!” — they stop the ball completely with the sole of the foot, hold for 1 second, then continue. They do that 3–4 times per length.
Age variations:
Coaching cue: “Be the boss of the ball.” Especially with 7–9 year-olds — they love that line and it really clicks.
What it teaches: Close control under pressure, plus it’s the fun finish to a session. Kids ask for this one by name.
Setup: Use a 10×10 yard area. Two players each have a ball. (For 1-on-1 sessions, the player goes against me.)
How to run it: Each player tries to keep control of their own ball and knock the other player’s ball out of the box. You can’t grab, push, or kick a player — only the ball. Last one with their ball still in the box wins the round.
Age variations:
Coaching cue: “Head up, ball close, foot ready.” All three at once is the whole game in one sentence.
If you want a simple structure parents can run in the backyard or driveway, here’s what I’d do:
That’s a 20-minute session that hits the same fundamentals we work on at every Mount Pleasant training session. Do this 2–3 times a week and you’ll see your player’s first touch get noticeably better within a month.
If you’d rather have me coach these drills with your son or daughter directly — or build a custom plan for the skill they most need to work on — I run private, semi-private, and small group sessions in Mount Pleasant and around greater Charleston. Reach out through the contact page and tell me a little about your player. I’ll get back to you fast.
And if you missed it, my intro post tells the whole story of how Olly on the Ball started.
Olly Sovenyhazy is a 15-year-old soccer player with the Charleston Soccer Club and a volunteer with the Charleston Battery. Through Olly on the Ball, he offers private, semi-private, and small-group youth soccer training in Mount Pleasant and the greater Charleston area, helping younger players build technical skills while falling in love with the game.