Soccer shooting drills are structured exercises that help players develop the power, accuracy, and confidence needed to score goals consistently. Here are the most effective types to know:
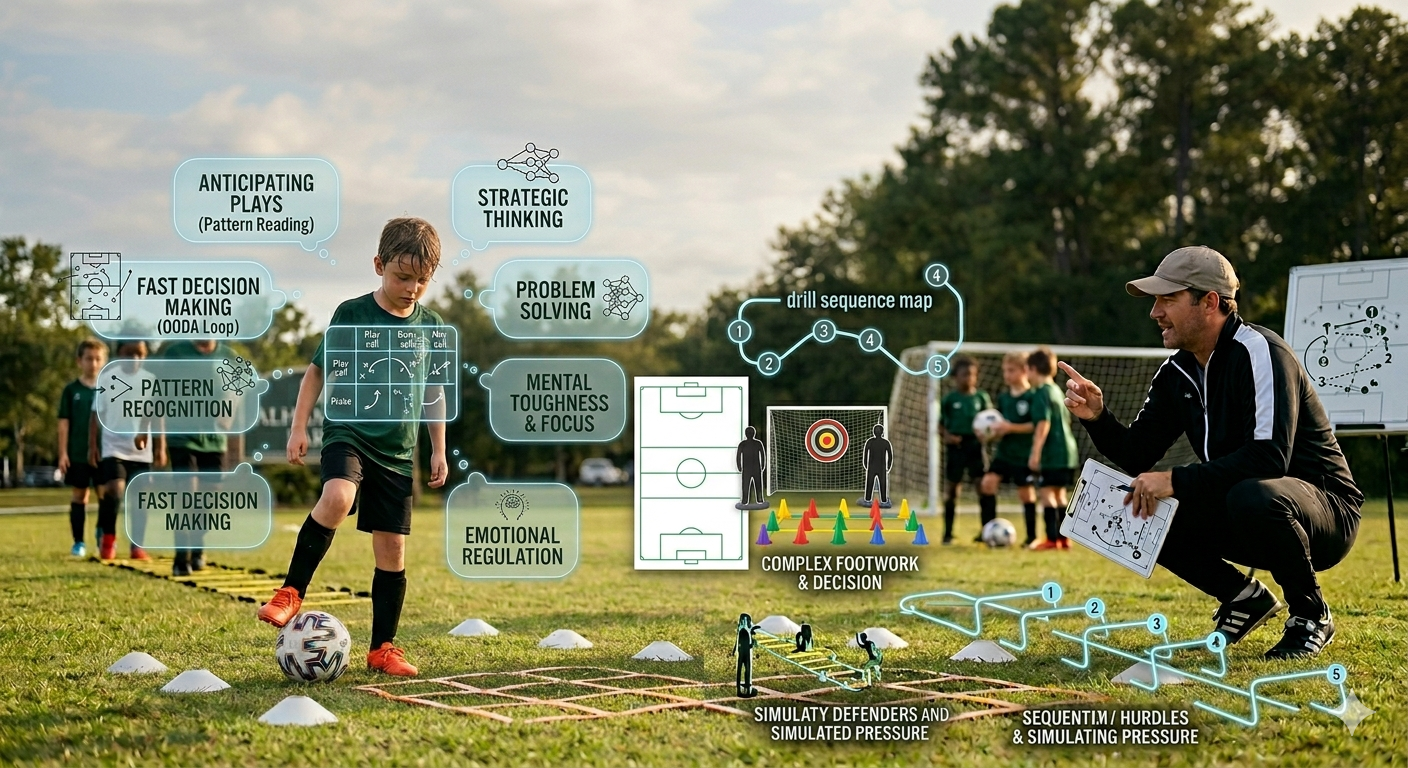
Picture this: the ball comes to your feet inside the box, a defender closing in fast. Do you panic — or do you know exactly what to do?
That split-second confidence doesn’t come from talent alone. It comes from repetition. It comes from drilling the same movements so many times that your body just reacts.
And the good news? It’s a skill anyone can build.
Whether your child is just starting out at a recreational league in Charleston or grinding for a spot on the Mount Pleasant club A-team, shooting is one of the most coachable skills in soccer. In fact, many professional clubs spend up to 75% of their practice time on drills that involve shooting in some form.
This 30-day guide breaks it all down — from the basics of striking a ball cleanly, to advanced drills that build real game-day composure.
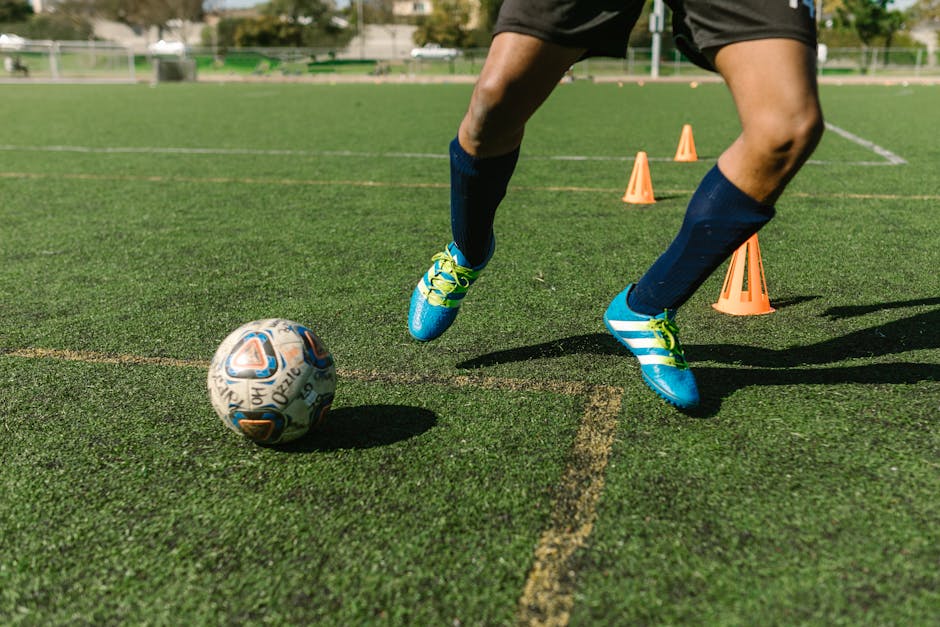
Before we jump into the high-intensity soccer shooting drills, we have to talk about technique. You can kick a thousand balls, but if your form is off, you’re just practicing bad habits. In the Lowcountry, we see a lot of young players who have the heart but haven’t quite mastered the mechanics of a clean strike.

Your non-kicking foot is your GPS. Wherever it points, the ball usually follows. Place your plant foot about 8-10 inches to the side of the ball. If it’s too far away, you’ll reach and lose power; too close, and you’ll feel cramped.
This is the “secret sauce” for power. If your ankle is floppy like a wet noodle, the ball absorbs the energy instead of flying off your foot. Point your toes down and keep that ankle rigid.
For raw power, you want to strike the ball with your laces (the hard bone on the top of your foot). For precision—think Lionel Messi tucking a ball into the side netting—use the inside of your foot.
If you lean back, the ball goes over the crossbar and into the Cooper River. To keep your shot low and powerful, keep your chest and knee over the ball at the moment of impact.
Don’t stop your foot as soon as you hit the ball. Follow through in the direction of your target. A great tip we often share during our Mount Pleasant sessions is to land on your kicking foot after the strike—this ensures your body weight is moving forward into the shot.
To get the most out of your 30-day journey, you don’t need a professional stadium. A local park in Summerville or a backyard in James Island works perfectly.
What you’ll need:
For more ideas on how to set up your practice space, check out our More skills and drills section.
If you’re just starting out, focus on accuracy over power. We want to build that “love for the game” by seeing the ball hit the back of the net!
The 2-Player Accuracy Drill Set up two cones about 3 yards apart in the center of the goal. Stand 10-15 yards back. Have a partner roll the ball to you. Your goal is to pass the ball with the inside of your foot directly between those two cones.
| Feature | Power Shot (Laces) | Finesse Shot (Inside Foot) |
|---|---|---|
| Primary Goal | Maximum Velocity | Extreme Accuracy |
| Contact Point | Top of the foot/Laces | Arch of the foot |
| Best Used For | Long-range screamers | Close-range “placed” goals |
| Difficulty | Higher (requires timing) | Lower (easier to control) |
Once you can hit the target consistently with a stationary ball, it’s time to add movement.
The Diagonal Shooting Drill Set up two lines of players (or just you and a friend) about 20 yards from the goal. Player A passes a diagonal ball into the path of Player B. Player B must run onto the ball and strike it with one touch. This mimics a real game where the ball is rarely sitting still. Focus on your plant foot positioning while moving at speed. Think about David Beckham and how he used his body angle to wrap around the ball for that perfect curve.
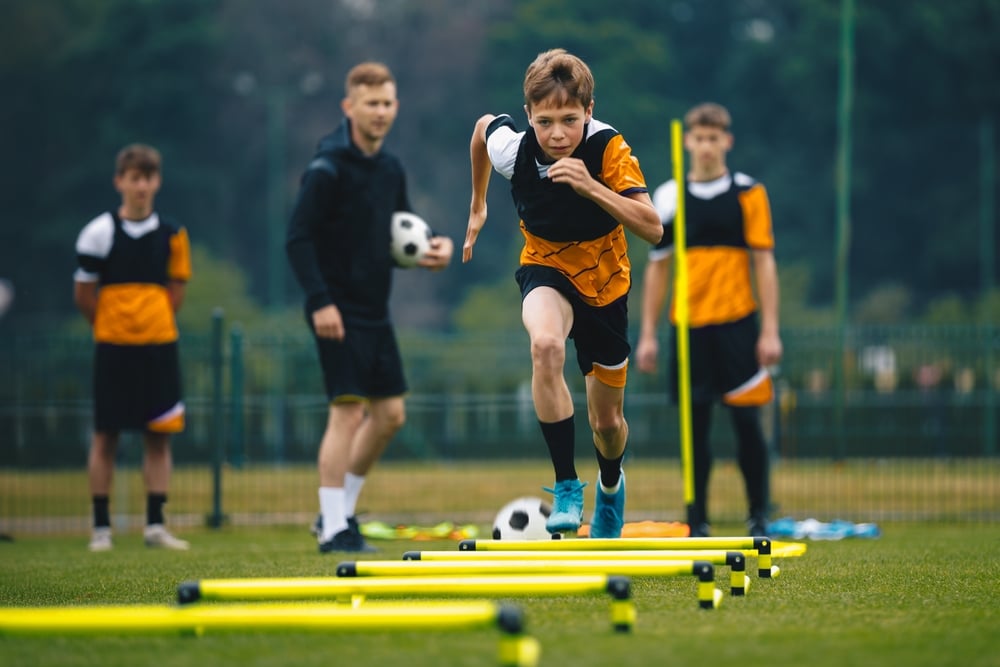
These drills are designed to make your heart race and your feet move fast.
The Rapid Fire Drill Line up 5 balls at the edge of the 18-yard box. You have 10 seconds to shoot all five. This forces you to reset your feet quickly and maintain technique even when you’re tired. It’s a favorite for our competitive players in North Charleston because it builds incredible mental toughness.
The Spin & Finish Start with your back to the goal at the edge of the penalty area. Have a server pass the ball into your feet. You must take one sharp touch to turn—using the outside of your boot—and immediately fire a shot on target. This is how “complete strikers” are made. You can find a great variation of this Soccer Shooting Drill: Spin & Finish that emphasizes quick feet and sharp turns.
In the “beautiful game,” goals rarely come from a perfect, uncontested position. You have to be versatile.
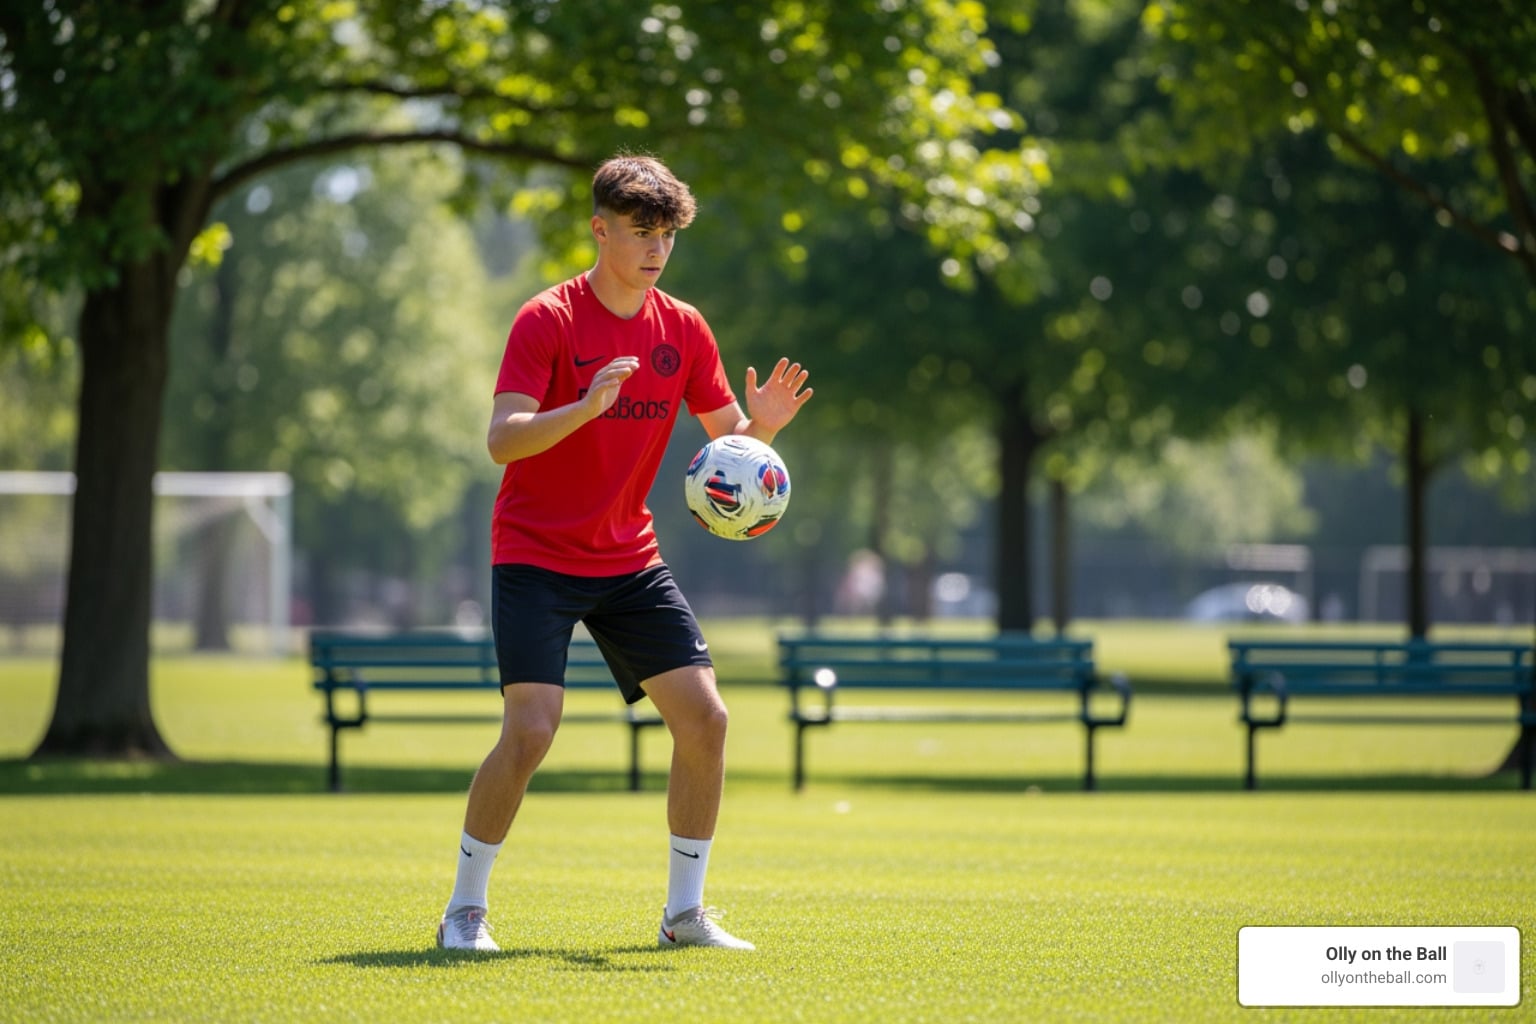
Volleys are all about timing. The key is to keep your eyes on the ball until the very last second. Try the “Toss and Strike” drill: have a partner toss the ball into the air toward you. As it drops, use your laces to strike it before it hits the ground. Remember: stay relaxed. If you tense up, you’ll likely shank it.
Don’t be a “one-trick pony.” If a defender knows you can only shoot with your right foot, they’ll show you to your left every time. Spend at least 15 minutes of every session using only your non-dominant foot. It will feel awkward at first, but after 30 days, you’ll be a dual-threat on the field.
In a real match, you have to react to the goalkeeper’s movement. Use the Shooting Agility Drill: Sprint through a set of cones, and just as you exit, have a coach shout “Left!” or “Right!” You must immediately aim for that corner of the goal. This bridges the gap between technical skill and game-time decision-making.
Consistency is the difference between a good player and a great one. To master shooting in 30 days, you need a plan.
Professional academies often spend 75% of their time on drills that involve finishing. Why? Because scoring is the hardest part of soccer! Your sessions should follow this flow:
Always wear proper footwear—cleats for grass and turfs for artificial ground. Stay hydrated, especially during those humid Charleston afternoons. If you’re practicing high-intensity drills, make sure you’ve warmed up your hip flexors and quads to prevent strains.
At a minimum, you need a ball and a target. A wall is actually one of the best “partners” you can have because the ball comes back to you at different speeds, helping you practice your first touch before the shot.
Power comes from technique and core strength, not just leg muscle. Focus on your follow-through and snapping your leg through the ball. Landing on your shooting foot is the fastest way to add 5-10 mph to your shot.
It makes you unpredictable. If you can score with both feet, defenders can’t force you into a “dead zone.” It doubles your scoring opportunities in the box.
Mastering the art of the goal doesn’t happen overnight, but with the right soccer shooting drills and a bit of Lowcountry grit, you can transform your game in just 30 days. At Olly on the Ball, we believe that every young player in Charleston and Mount Pleasant has the potential to be a clinical finisher.
It’s about more than just points on a scoreboard; it’s about building the confidence to take that shot when the game is on the line. Whether you’re inspired by the pros at the Charleston Battery or just want to beat your friends in a pickup game at the park, the journey starts with the first strike.
Ready to take your finishing to the next level? Let’s get to work.