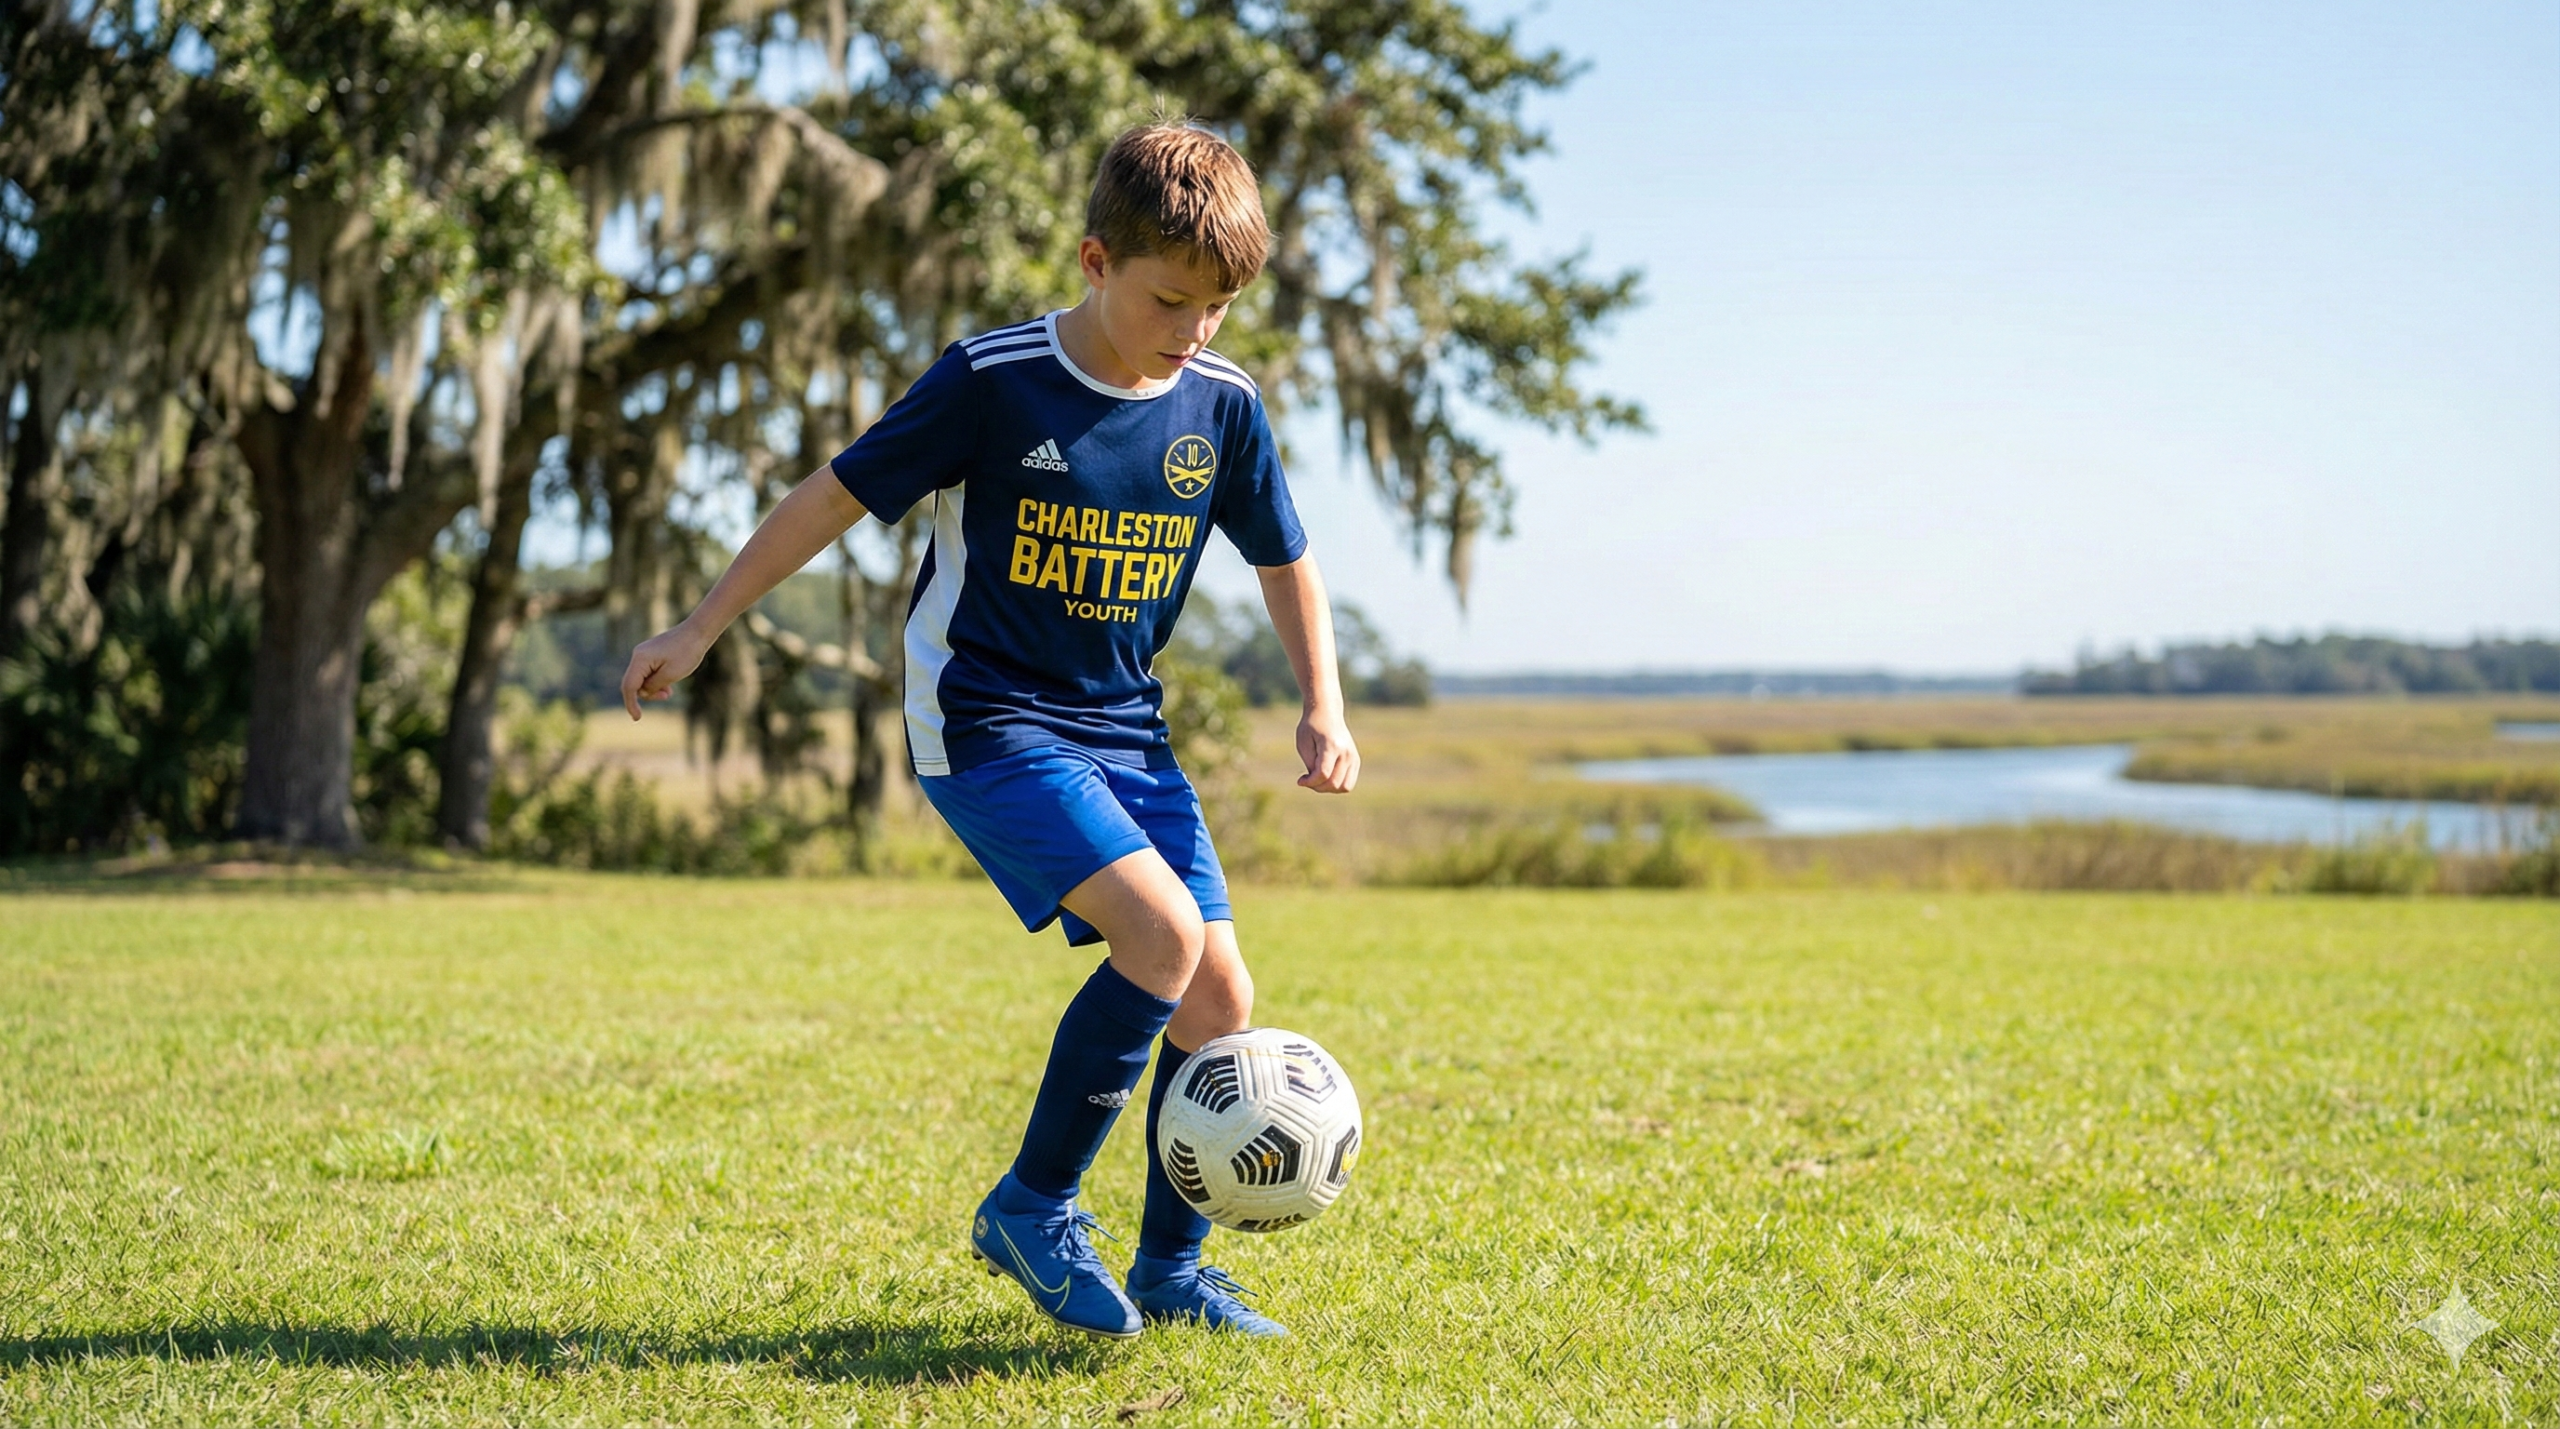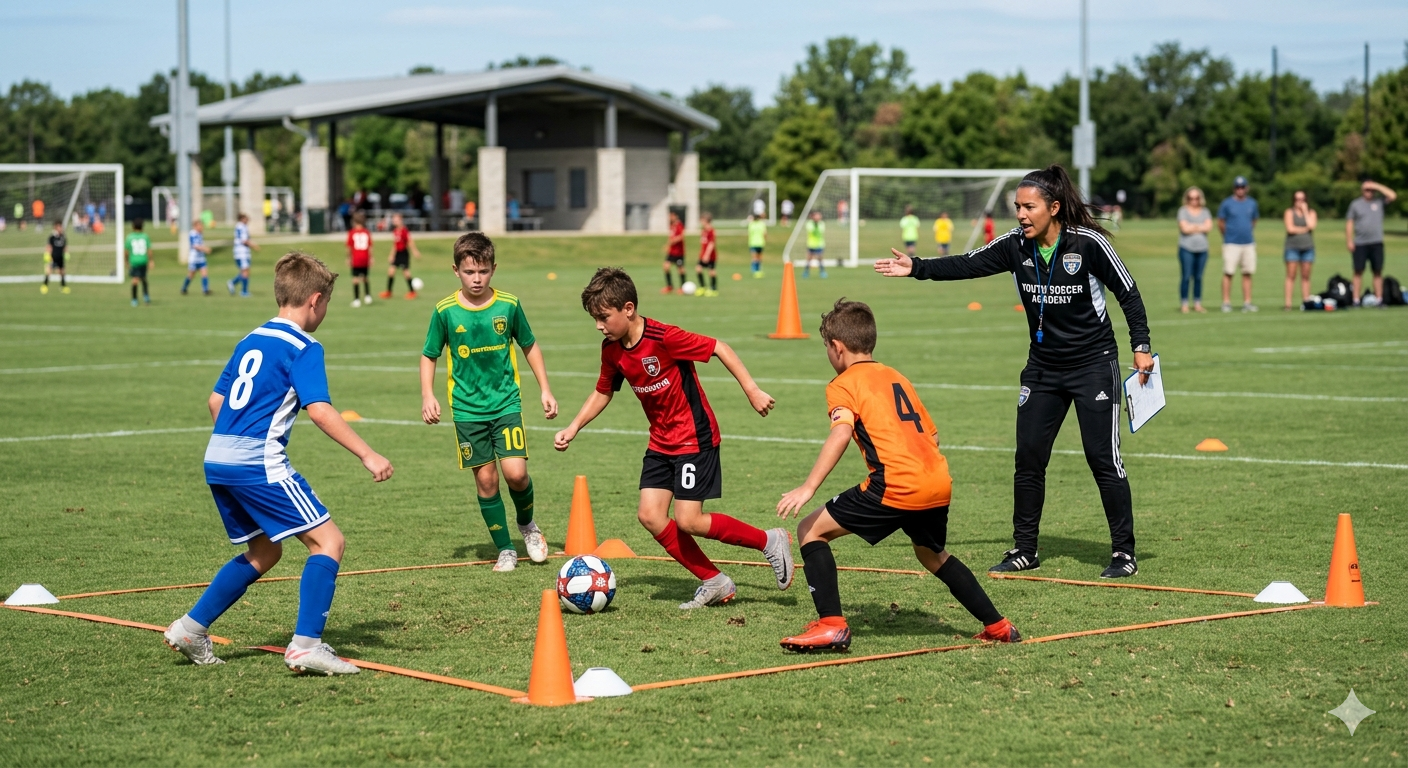

First touch soccer drills are the work that separates players who look composed on the ball from players who panic the second the pass arrives. Your first touch decides everything that happens next — whether you keep possession, whether you can attack the space in front of you, whether the defender has time to close you down before you’re set. The good news: first touch is one of the most trainable skills in soccer. You don’t need a coach, a field, or a teammate. You need a ball, a wall, and 10-15 minutes a day in the backyard.
This guide walks through five backyard first-touch drills that build sharp, directional ball control in young players. They work for ages 7 and up, scale to any skill level, and require basically zero equipment — a ball, a flat patch of grass or driveway, and a wall or fence the ball can come off of. Run two or three of these every day for a month and watch what happens at the next practice.
Before the drills — a quick definition. A good first touch is not “the ball doesn’t run away from you.” That’s the floor. A good first touch:
Every drill below is built around that — directional control into space, with the next touch already in mind.
The simplest, most underrated drill in soccer. You need: a ball, a wall.
How: Stand 8-10 feet from the wall. Pass the ball into the wall with the inside of one foot. As it comes back, take it with the inside of the same foot, and pass again. 50 reps each foot. Then switch to two-foot (left, right, left, right). Then alternate the receiving foot — pass with the right, receive with the left, pass back with the left, receive with the right.
What it builds: the cushion. Your foot learns to absorb the pace of the ball instead of letting it bounce off. Quality over speed at first. Sharp touches, not rushed ones.
Now we add the “into space” piece. You need: a ball, a wall, 4 cones (water bottles, shoes, whatever).
How: Place a cone at each compass direction around you — front, back, left, right, about 3 feet out. Pass into the wall. As the ball comes back, take a directional first touch toward one of the cones. Touch the cone with the ball (or just stop it on top of the cone). Repeat from a different starting position. 5 reps per cone per foot.
What it builds: the angled touch. Your foot rotates to redirect the ball into space instead of stopping it dead. This is the touch that makes you look fast even when you’re not.
The hardest first touch in real soccer: receiving with a defender on your back. We can train the body shape without a defender.
How: Stand facing the wall. Pass the ball in. As it comes back, open your hips to one side (left foot to the right shoulder, right foot to the left shoulder) and take a first touch that turns you 90 degrees away from the wall. Take a second touch dribbling 5 yards. Repeat going the other direction. 20 reps each side.
What it builds: the half-turn. Hip rotation while receiving is what separates players who can get the ball facing forward from players who only ever receive facing backward. This drill alone unlocks a position upgrade for most young players.
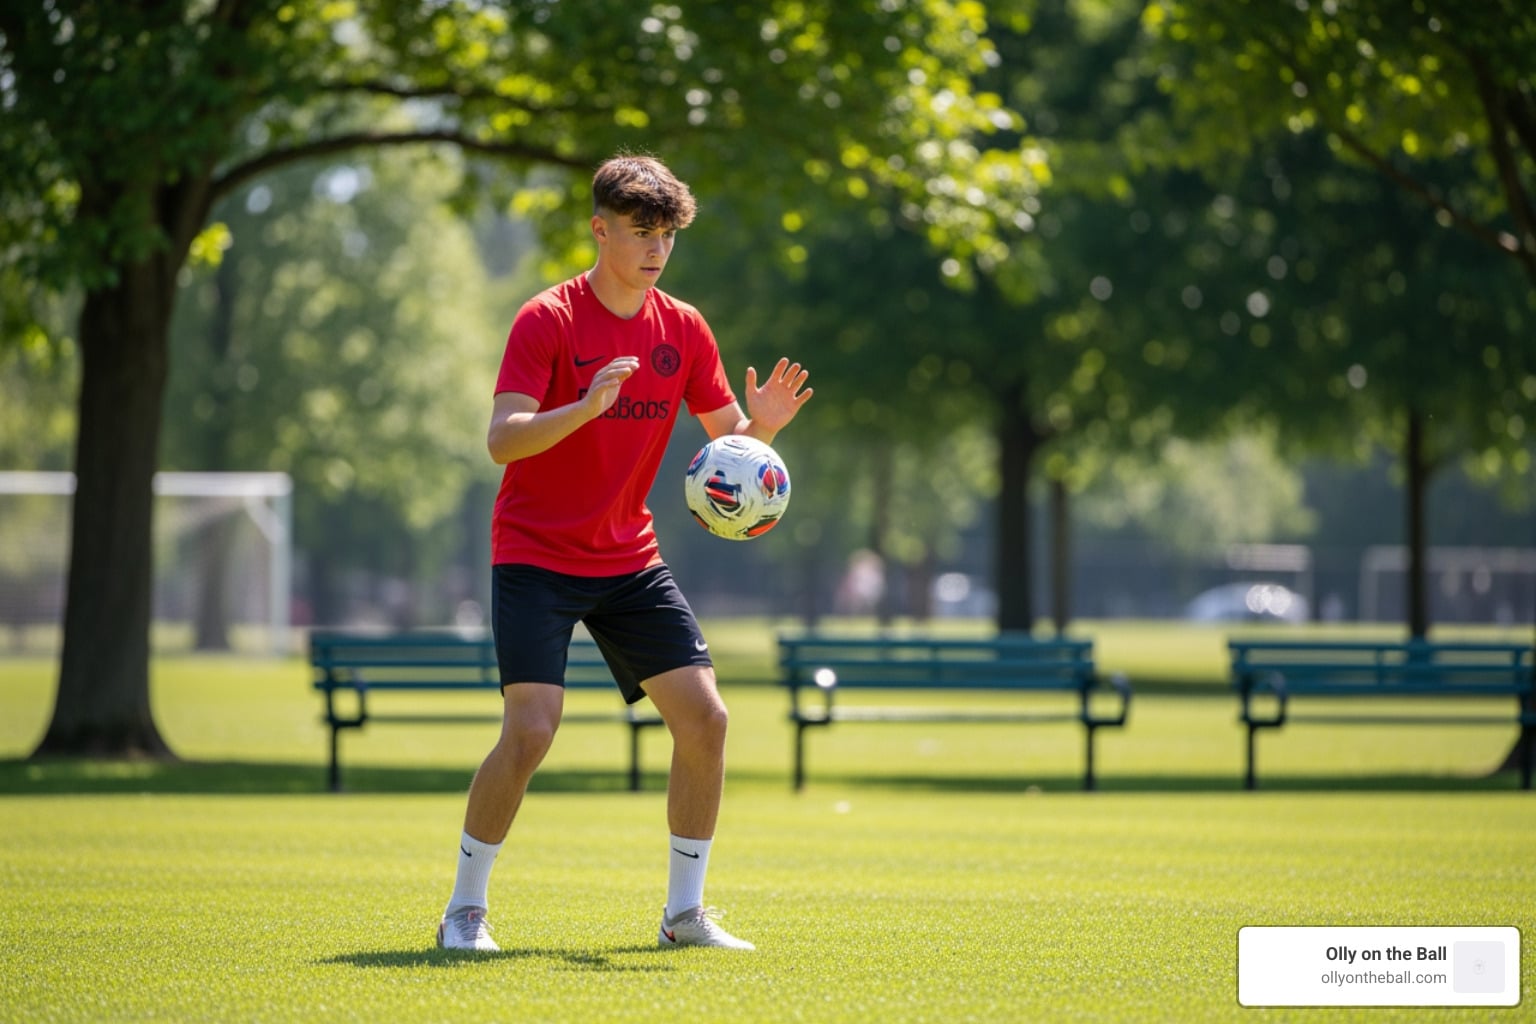
Real games have balls dropping out of the sky — bouncing through balls, clears, throw-ins. Most young players panic on these. They shouldn’t.
How: Toss the ball gently in the air above your head with your hands. As it drops, take a first touch with your thigh, cushioning it down to your feet. Take a second touch to dribble away. 10 reps. Then repeat with chest. Then repeat by tossing the ball off the wall so it bounces back to you at chest height, and take a foot-first touch on the volley (this is the hardest one — start slow).
What it builds: the cushion on air balls. Your body learns to soften on contact instead of letting the ball ricochet. This is also a confidence multiplier — kids who can handle bouncing balls cleanly stop being afraid of them.
Once the cushion is sharp, take it the other direction — first touch as the only touch. You need: a wall and good rhythm.
How: Stand 6 feet from the wall. Pass into the wall and one-touch the rebound back. Then one-touch again. And again. See how long a one-touch rally you can maintain. Start slow, build pace. Add a constraint: alternate feet. Then add: one-touch with the outside of the foot instead of the inside.
What it builds: game-speed touches. In a real match, you often don’t have time for a touch-and-pass — you’ve got to play first time. This drill builds the rhythm and the surface awareness you need for that. It’s also the drill that exposes which foot needs more work fastest.
Two to three weeks of daily 10-15 minute sessions usually produces visible change at practice. Real game transfer takes 6-8 weeks because the player has to learn to apply the cleaner touch under defender pressure too. Don’t expect overnight transformation — expect the trajectory to turn upward fast.
Any flat surface that gives a predictable rebound works. Garage door, fence, brick wall, side of a shed. Soft surfaces (vinyl siding) deaden the ball and make the rebound dead — go for harder surfaces if you’ve got the option.
Match the size your child plays with at club: size 3 for ages 5-8, size 4 for 9-12, size 5 for 13 and up. Training with the wrong size builds touch patterns that don’t transfer cleanly to game day.
Turf shoes or just running shoes on grass are fine — and arguably better, because they force more precise foot placement than cleats do. Save cleats for game-shape sessions.
No — they’re a complement, not a replacement. Team practice gives game-shape, opponents, and tactical reps. Backyard drills give the technical reps team practice doesn’t have time for. Both are needed. The kids who improve fastest do both.
First touch is the most quietly important skill in soccer. The players who own it look composed under pressure, hold possession in tight spaces, and create time on the ball that other players can’t. The work is boring, the work is daily, and the work is what changes a player. 10 minutes in the backyard, every day, with intent — that’s how it gets built.
If you want guidance on what to drill next once first touch is sharp, head to the contact page for a session conversation. For more ball-control work, read the ultimate guide to soccer ball control drills and how to practice soccer drills at home. For the agility piece that pairs with sharper touches in a real game, see our soccer agility training guide for young Charleston players.