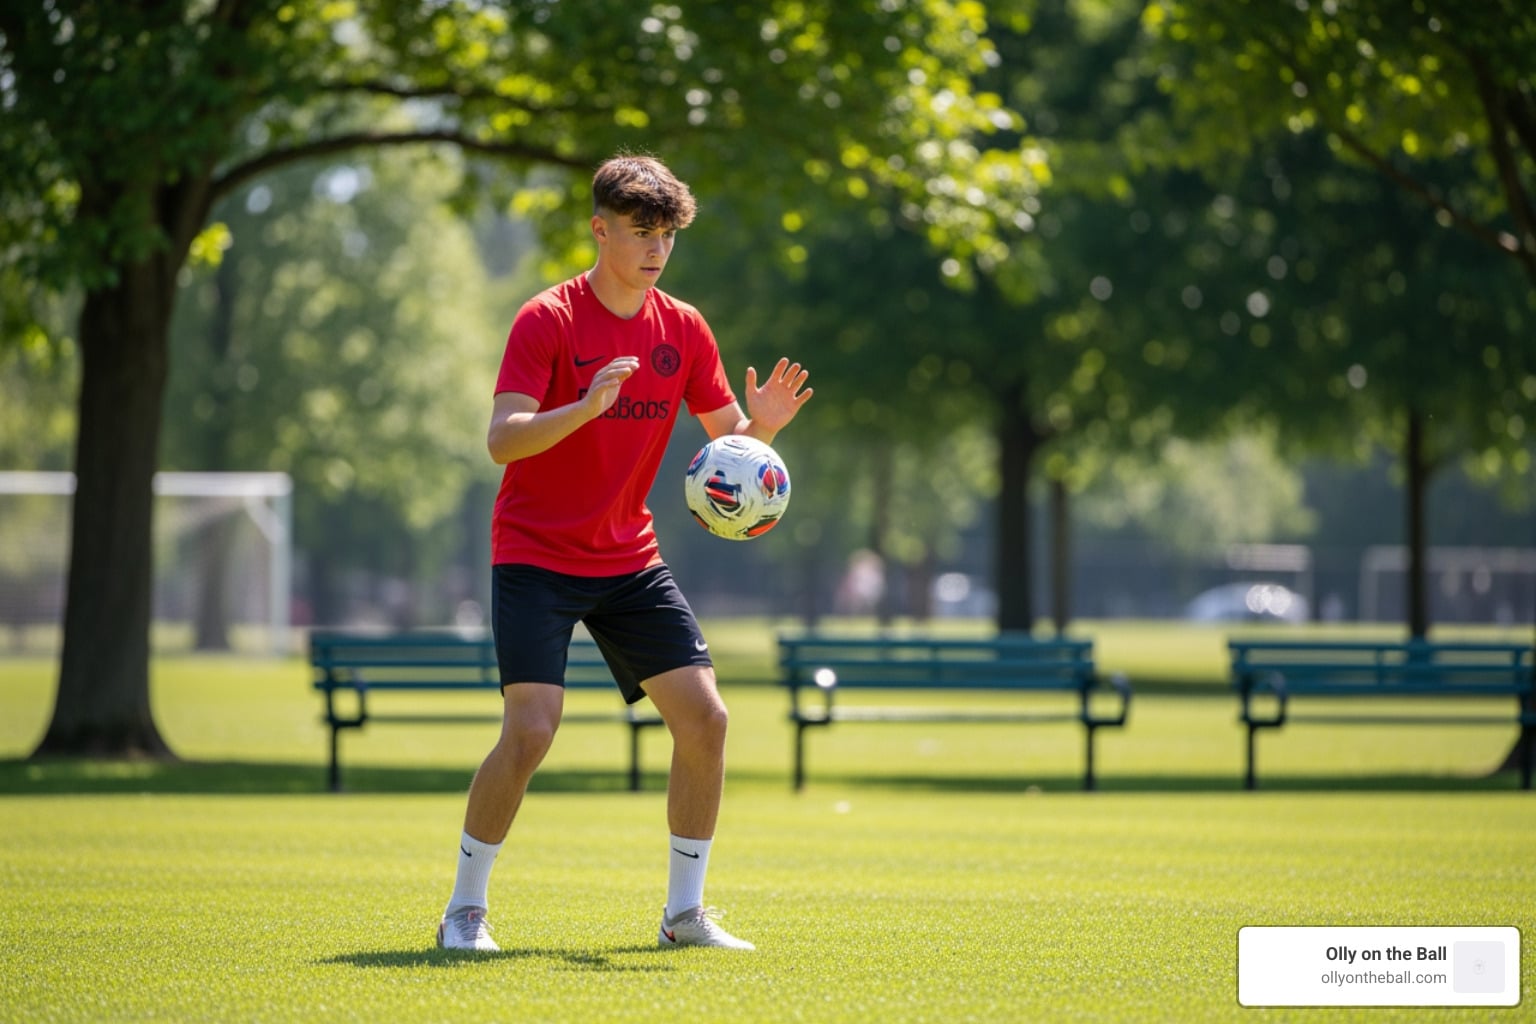
The Essential Benefits of Soccer Practice at Home
Soccer practice at home is one of the fastest ways to level up your game between team sessions. Here’s a quick breakdown of the best ways to do it:
Top 5 methods for soccer practice at home:
- Ball mastery drills – toe taps, sole rolls, and juggling to build touch and control
- Small-space dribbling – figure 8s and cone weaves in your backyard or garage
- Wall-based passing – one-touch passes against a wall or rebounder to sharpen your first touch
- Shooting accuracy drills – target practice with both feet, no goalkeeper needed
- Speed and agility work – shuttle runs, ladder drills, and plyometrics to build fitness
Here’s something worth knowing: in a typical team practice, you might get 20 to 30 touches on the ball. In a focused 10-minute session at home, you can rack up 500 or more. That difference adds up fast.
The best players in the world – the ones you watch on TV – didn’t get great just from team training. They put in extra work on their own. Constantly. Every single day.
Whether your child plays for a club in Mount Pleasant or just kicked a ball for the first time at a recreational league in the Lowcountry, home practice is where real skill development happens. It’s where movements go from awkward to automatic.
And the good news? You don’t need a full pitch, a goalkeeper, or fancy equipment to get started. A ball, a small patch of grass, and 20 minutes is enough to make a real difference.
When we talk about soccer practice at home, we aren’t just talking about “playing in the yard.” We’re talking about building the foundation of a great player. There’s actually some cool science behind why this works so well.
According to Daniel Coyle in The Talent Code, every time you repeat a movement, your brain builds something called myelin. Think of myelin as insulation for your brain’s “wires.” The more you practice a specific move, the thicker that insulation gets, and the faster the signal travels. This is how we build muscle memory. When you’re in a game at the Daniel Island Soccer Academy or playing under the lights in Mount Pleasant, you don’t want to think about how to move your feet—you want your feet to just do it.
US Soccer’s player development philosophy emphasizes that individual skill work is essential. While team practices are great for tactics and positioning, they often lack the high volume of repetitions needed for technical mastery. By practicing at home, you can:
- Get 1,000+ Touches Daily: The best players in the world aim for this number every single day.
- Focus on Weaknesses: In a team setting, you might hide your “bad” foot. At home, you can spend 15 minutes exclusively using it.
- Build Massive Confidence: When you master the ball with these proven skill development drills, you step onto the field feeling like you can beat any defender.
- Prevent Injuries: Consistent training builds the strength and stability needed to stay on the pitch.
Setting Up Your Home Training Ground: Equipment and Space
One of the biggest myths is that you need a massive field to get better. Honestly, we’ve seen players improve their footwork in a hallway! If you can train like Messi in a phone booth, you can train anywhere in Charleston.
Minimal vs. Ideal Equipment
You don’t need to spend a fortune to start soccer practice at home. Here is what we recommend:
Pro Tip on Ball Sizes:
If you’re training on concrete or a driveway in Summerville, consider the Senda Street Soccer Ball—it’s built to handle rougher surfaces without scuffing up.
5 Guaranteed Methods for Soccer Practice at Home
To truly see results, your soccer practice at home should be structured. Don’t just kick the ball against the fence. Use these five methods to ensure you’re developing every part of your game. If you want to see a full list of what to work on, you can master these soccer skills starting today.
Method 1: Ball Mastery and First Touch
Ball mastery is about becoming “one with the ball.” It’s the foundation of everything else. If you can’t control the ball, you can’t pass or shoot effectively.
- Toe Taps & Sole Rolls: These are classic for a reason. Try to get 100 of each as fast as possible without losing control.
- Juggling: This is the ultimate test of touch. Start with your dominant foot, then switch to your weak foot, then try to incorporate your thighs and chest. Check out these 5 Beginner Juggling Skills to keep it interesting.
- Foot Sensitivity: Spend time using all parts of your foot—inside, outside, laces, and sole. This 10 Minute Ball Mastery video is a great follow-along routine.
- The Goal: Aim for “soft” feet. The ball should sound quiet when it hits your foot, not like a drum. For more deep-dives, see the ultimate guide to soccer ball control drills.
Method 2: Dribbling in Small Spaces
In the Lowcountry, we often have tight backyards or even just a garage to work with. That’s actually a blessing! Tight spaces force you to have tighter control.
- Figure 8 Dribbling: Set up two cones 4-5 yards apart. Dribble in a figure-8 pattern. Use only the inside of your feet for one minute, then only the outside for the next. This Two Cone Setup is perfect for this.
- The Cone Weave: Line up 5-10 cones in a straight line, one yard apart. Weave through them as fast as you can. If you knock one over, you start again!
- 4-Cone Box: Create a 2×2 yard square. Practice your “escapes”—dribble to the center, perform a turn (like a Cruyff or a Step-over), and explode out to a corner. These INSANE 4 cone drills will challenge even advanced players.
Method 3: Wall-Based Passing and Receiving
A wall is the best teammate you’ll ever have. It never gets tired, it never complains, and it passes the ball back exactly how you hit it.
- The One-Touch Challenge: Stand 2-3 yards from a wall. Pass the ball against the wall and try to keep it going with one touch. Use both feet!
- Receive and Turn: Pass the ball, receive it with your back to the “goal,” and practice a half-turn to simulate escaping a defender.
- Scanning: This is a pro secret. Right before the ball comes back to you from the wall, look over your shoulder. This builds the habit of knowing where your teammates and opponents are.
- Drill Resource: Check out these Wall Ball Drills for a structured way to use your garage or a brick wall. This is especially helpful if you’re trying to stop the swarm by learning to move the ball quickly.
Method 4: Accuracy-Focused Shooting Drills
You don’t need a goalkeeper to practice finishing. In fact, training without one can help you focus on the corners of the net, which are the hardest spots for a keeper to reach.
- Target Practice: Hang a towel or put a piece of tape in the corners of your goal (or on a wall). Aim to hit that target 10 times in a row before moving to the next corner.
- Weak Foot Finishing: For every shot with your dominant foot, take two with your weak foot. This is how you become a nightmare for defenders in the Charleston youth leagues.
- The “Kickwall” Method: If you don’t have a goal, use a wall but focus on “passing” the ball into a specific target with power. You can even build your own kickwall for the backyard.
- Finishing Moves: Practice your approach. Take a touch to the side to create an angle, then strike. We have some great one-on-one shooting tips to help you stay calm in front of the net.
Method 5: Speed, Agility, and Fitness
Soccer fitness isn’t about running miles; it’s about short bursts of speed and the ability to change direction instantly.
- FIFA 11+ Warm-up: This is a research-backed routine that helps prevent ACL and ankle injuries. It’s a must for any serious player. You can find the full program here.
- 3-Cone Drill: Set up three cones in an ‘L’ shape. Sprint, shuffle, and backpedal between them. This P1 Soccer Specific Training is a classic for building “game speed.”
- Plyometrics: Box jumps or broad jumps build the explosive power you need to win headers or beat a defender to a loose ball.
- Around the World: For kids in Charleston and Mount Pleasant, we love the Around the World skills training which combines fitness with global flair.
Structuring Your Training Session
A good soccer practice at home session should last between 20 and 45 minutes. Any longer and you might lose focus; any shorter and you won’t get enough reps.
- Warm-up (5-10 mins): Use the FIFA 11+ or the HAUS Warm-Up Video. Get the blood flowing and the muscles ready.
- Technique Focus (15-20 mins): Pick one area (Dribbling, Passing, or Shooting) and do 3-4 different drills. This is the “meat” of your session.
- Conditioning/Game Simulation (5-10 mins): High-intensity drills like shuttle runs with the ball. Try to push yourself until you’re tired, then try to maintain your technique.
- Cool-down (5 mins): Light stretching and reflecting on what went well.
If you’re looking to dominate your next match, these one-on-one drills are the secret to winning your individual battles.
Designing a Weekly Soccer Practice at Home Schedule
Consistency is the most important part of soccer practice at home. It is better to practice for 20 minutes four times a week than to practice for two hours once a week.
- Monday: Ball Mastery & Dribbling (Focus on quick feet)
- Tuesday: Passing & First Touch (Use the wall!)
- Wednesday: Rest or Light Juggling (Recovery is key)
- Thursday: Shooting & Finishing (Aim for those corners)
- Friday: Speed, Agility, & Plyometrics (Get explosive for the weekend)
- Saturday/Sunday: Game Day or Fun Games
For parents looking to help their kids progress, here is how to kickstart your child’s advanced soccer skills with a structured approach.
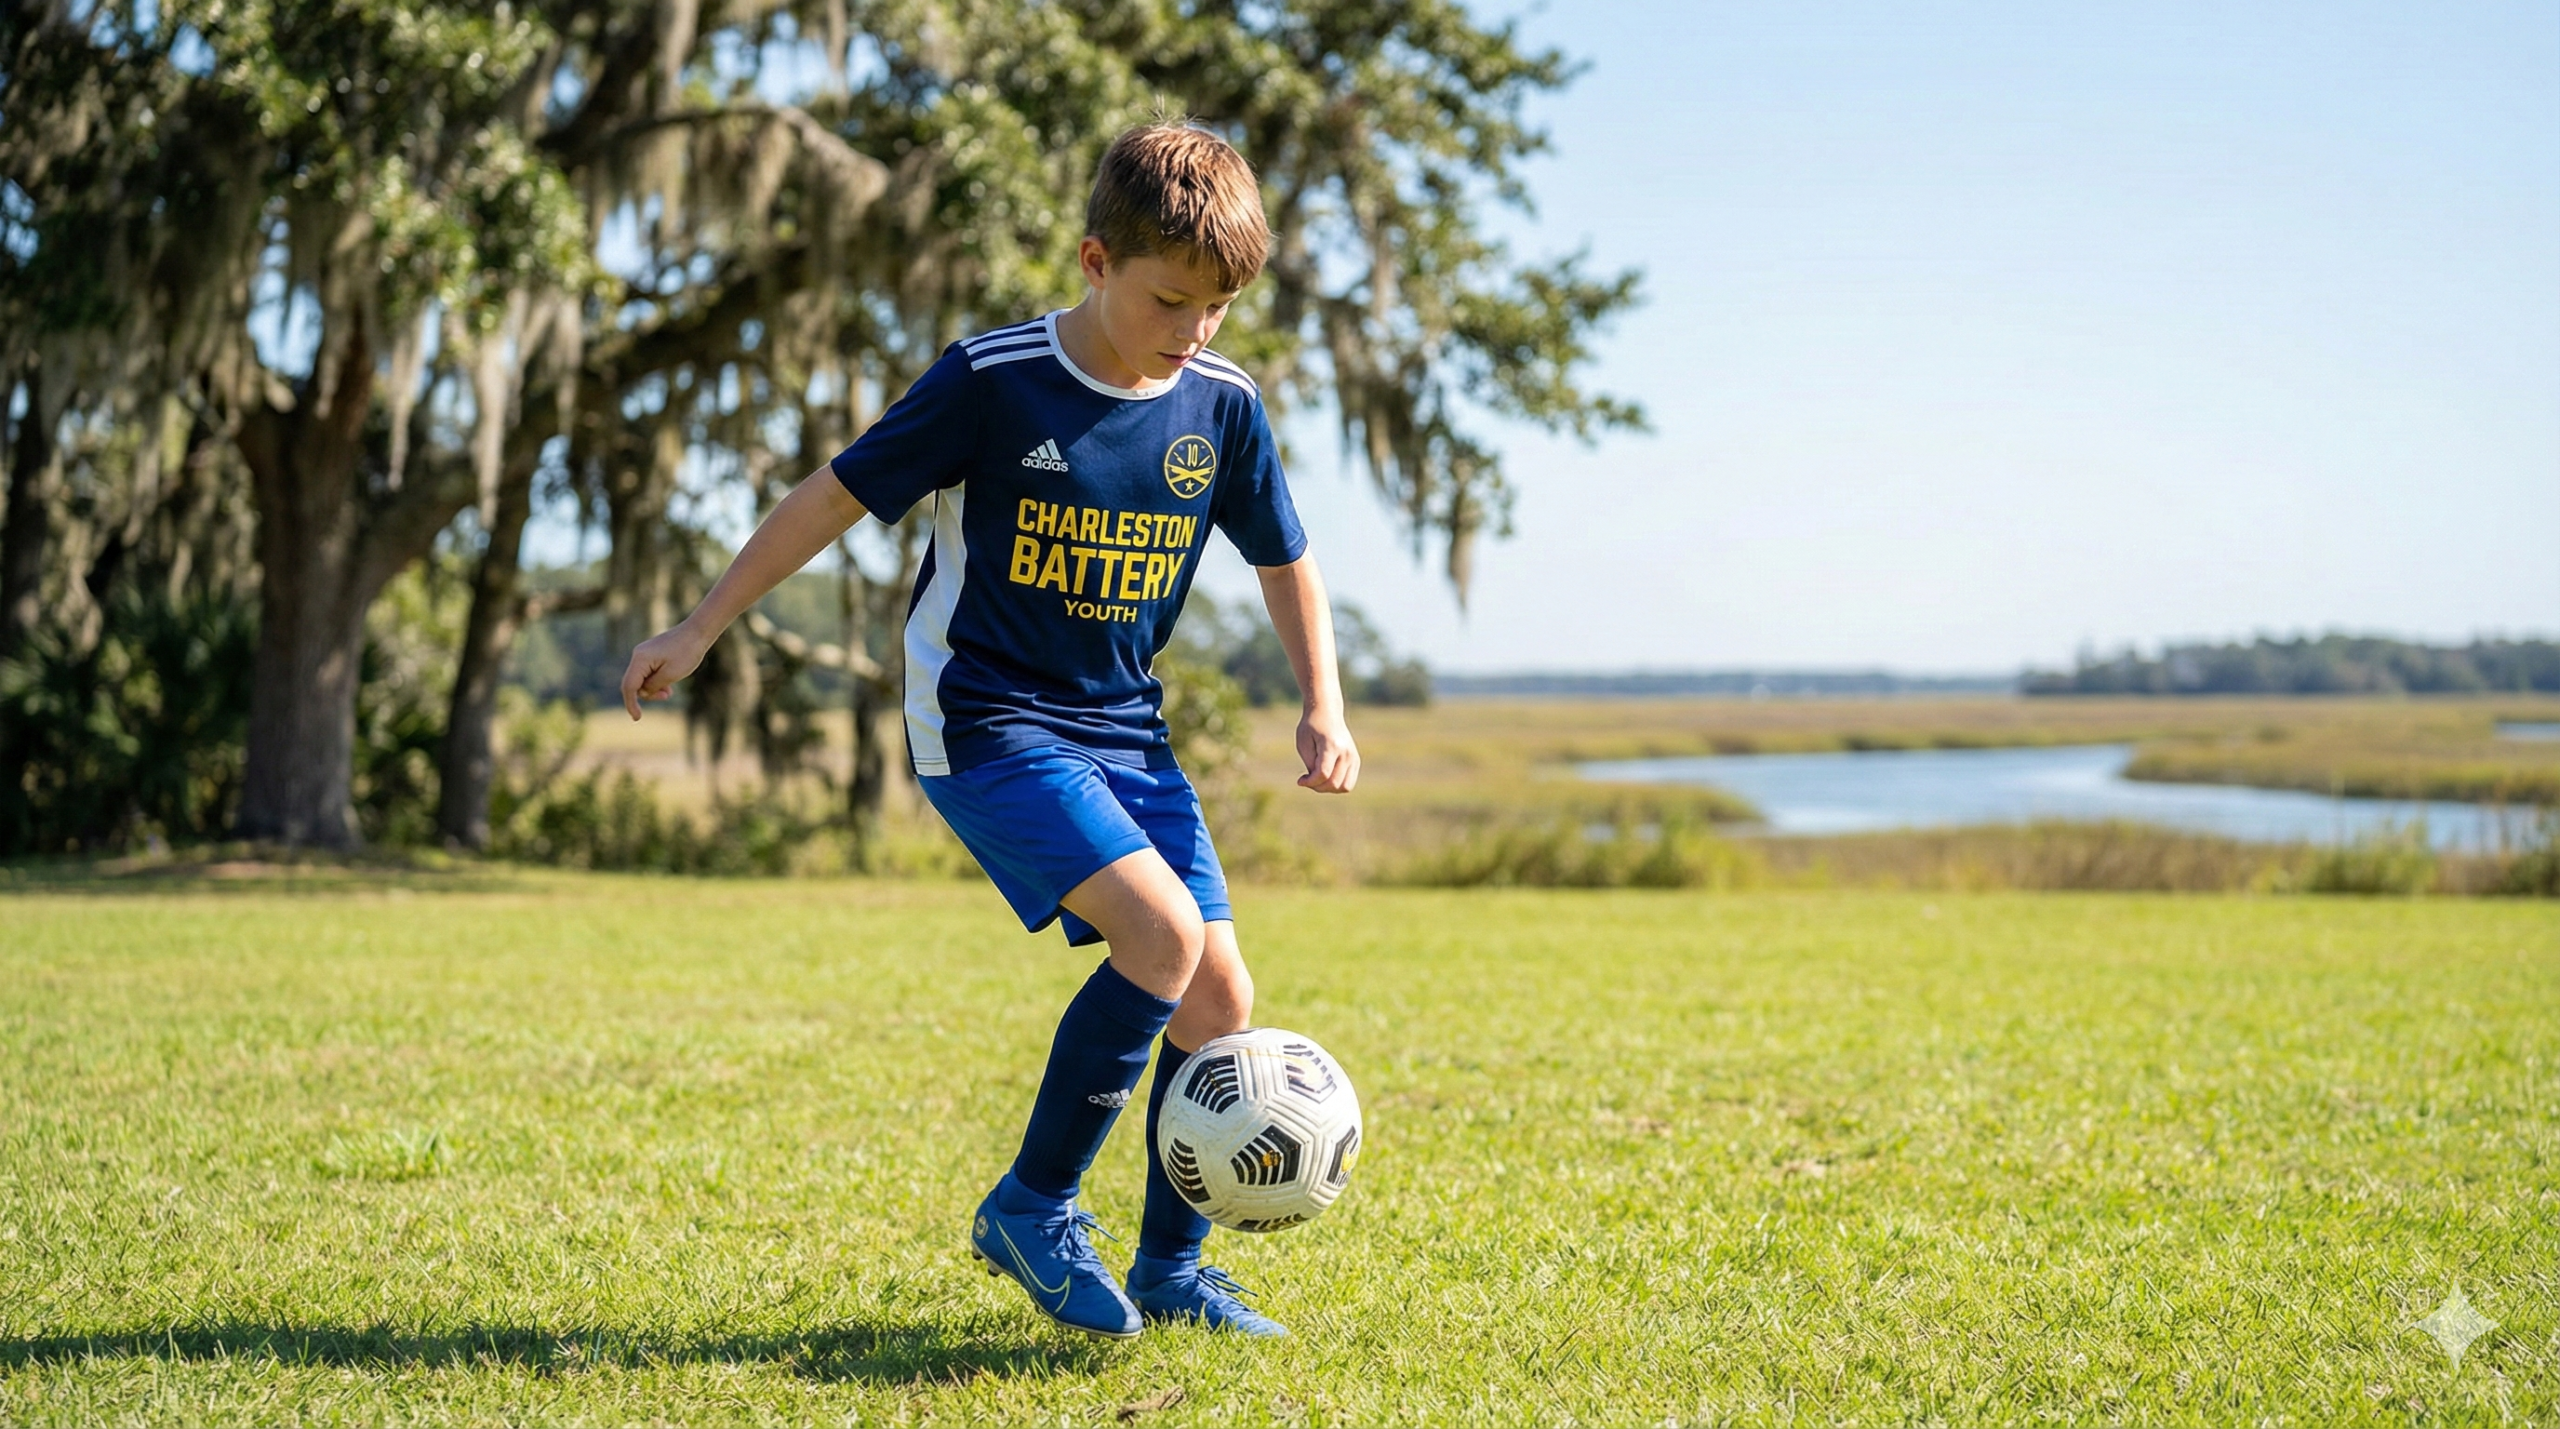
Beginner-Friendly Soccer Practice at Home Games for Kids
For younger players (ages 3-10), training shouldn’t feel like a chore. It should feel like a game! Use imagination to keep them engaged.
- Hit the Coach: The child tries to kick the ball and hit you (the coach). If they hit you, you have to make a funny noise or act like an animal!
- Volcanoes: Set up cones in a random pattern. The child has to dribble through the “lava” without hitting a “volcano” (cone).
- Red Light, Green Light: A classic. Green means dribble fast, yellow means slow, and red means stop with your foot on the ball.
- The Tunnel: Stand with your legs wide. The child tries to pass the ball through the “tunnel” using the inside of their foot.
- Neck Stall Challenge: For older kids or those feeling fancy, try learning how to do a neck stall—it’s a great way to build coordination and show off a bit!
Frequently Asked Questions about Home Soccer Training
How much time should I spend practicing each week?
For optimal results, we recommend 20 to 30 minutes, four to five times a week. This is more effective than one long session. Consistency builds myelin!
Can I practice soccer indoors without breaking anything?
Yes! Use a soft ball or even a rolled-up pair of socks for ball mastery drills like toe taps and sole rolls. Focus on “low-impact” drills that don’t involve power-kicking.
How do I track my progress when training alone?
Use a timer! See how many toe taps you can do in 60 seconds, then try to beat that score tomorrow. You can also record yourself on a phone to check your form—sometimes what we think we’re doing looks different on camera.
Conclusion
At Olly on the Ball, we believe that the difference between a good player and a great player is what happens when no one is watching. Whether you’re inspired by the Charleston Battery or just want to have more fun on the field at Sullivan’s Island or Isle of Palms, soccer practice at home is your ticket to success.
We are passionate about mentoring the next generation of Lowcountry players. Our peer-to-peer approach means we don’t just “coach”—we play, we relate, and we inspire. If you’re ready to take those home skills and apply them to game situations with a private coach who understands the modern game, we’re here to help.
Ready to take your game to the next level?
Book a Private Session with Olly today and let’s start building your confidence on the ball!